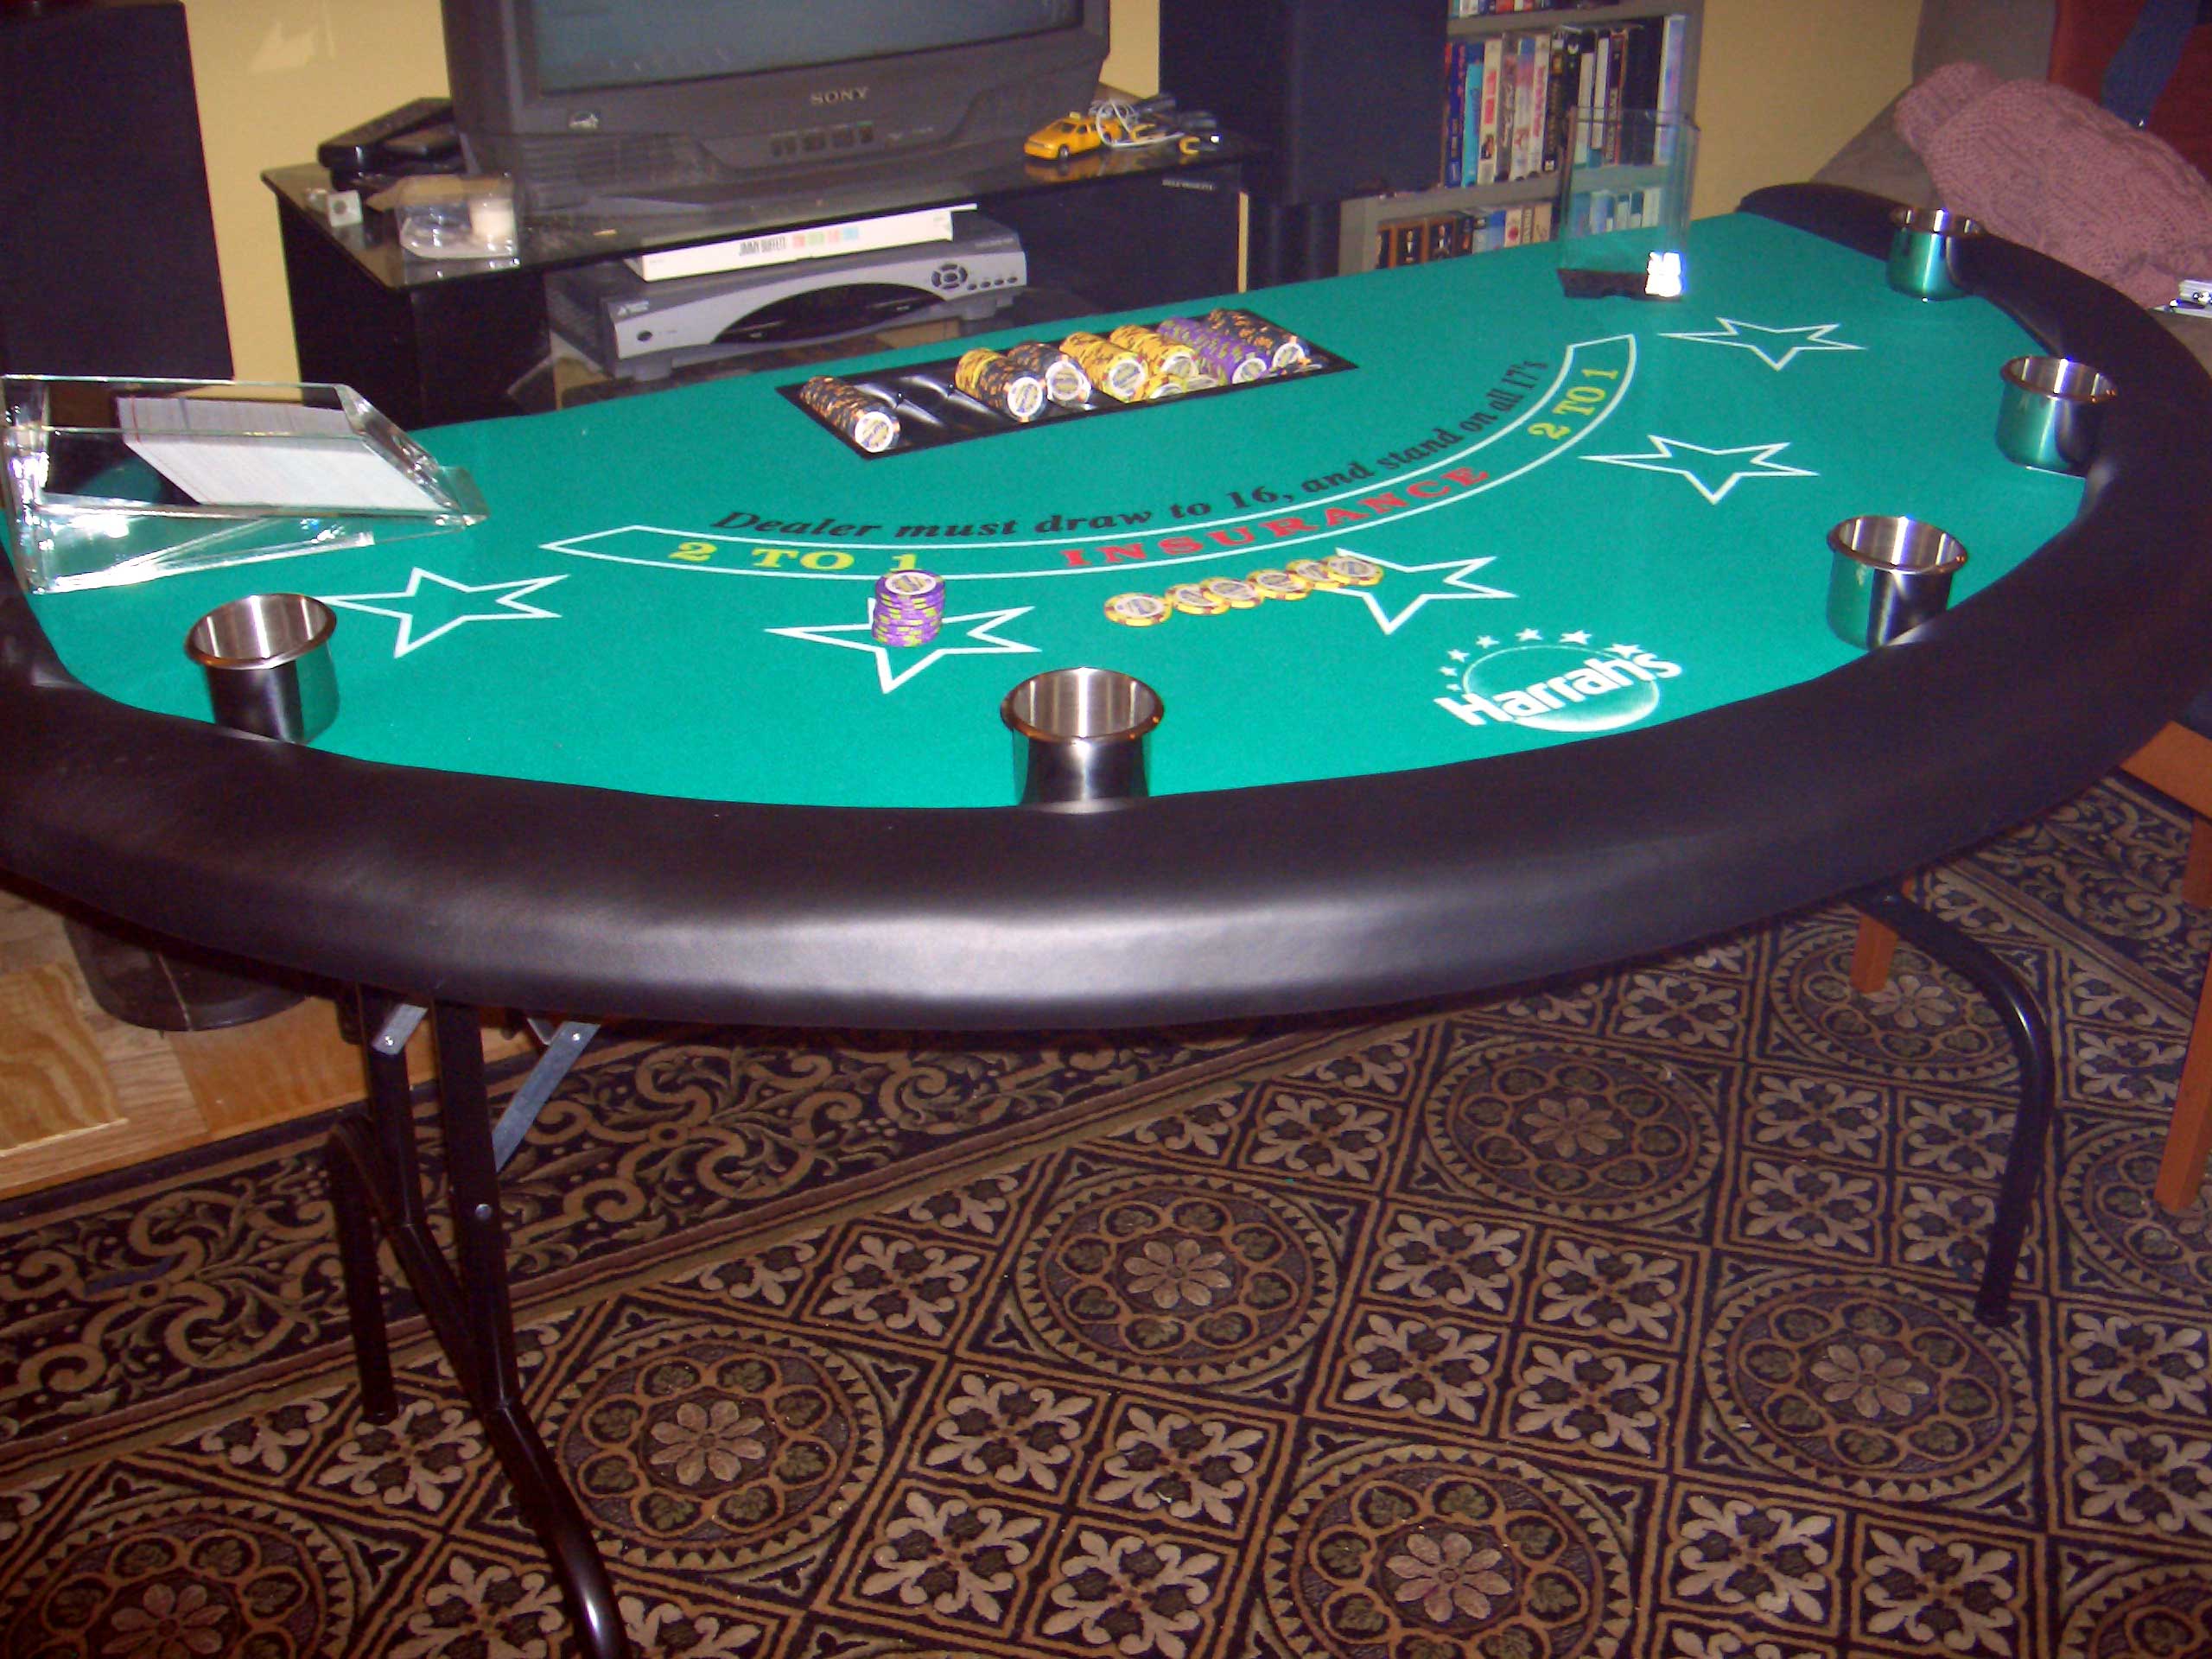
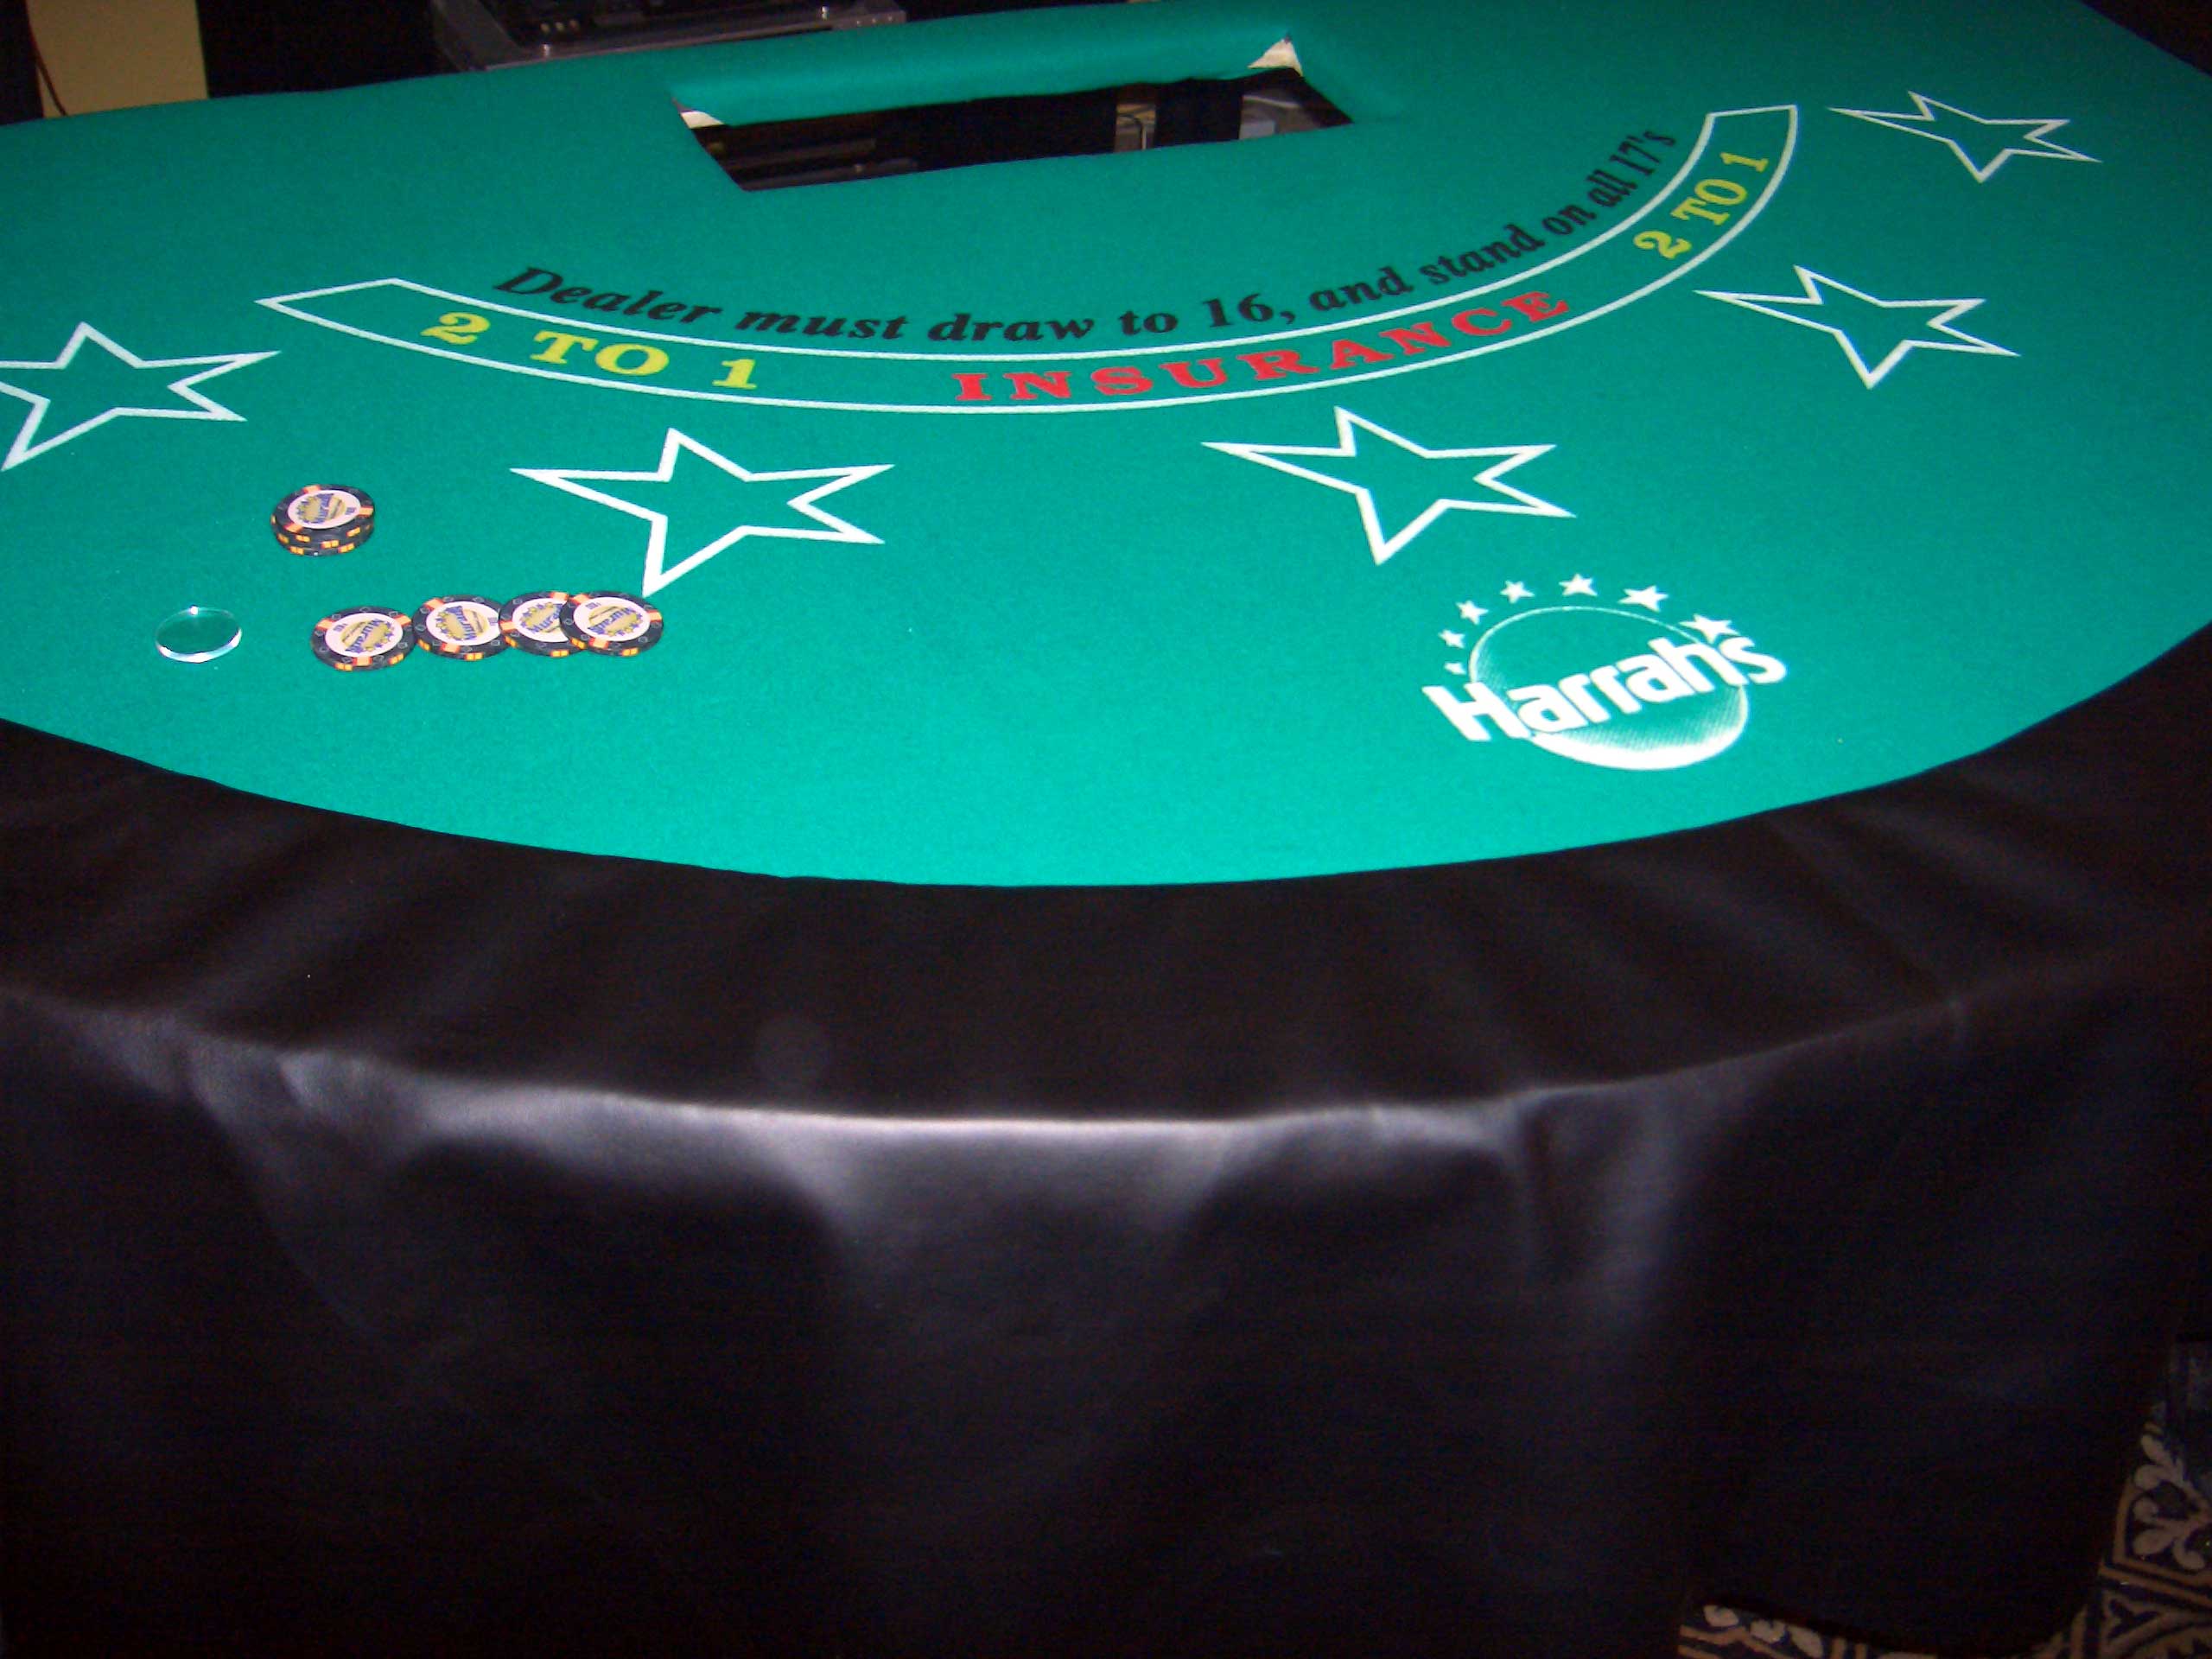
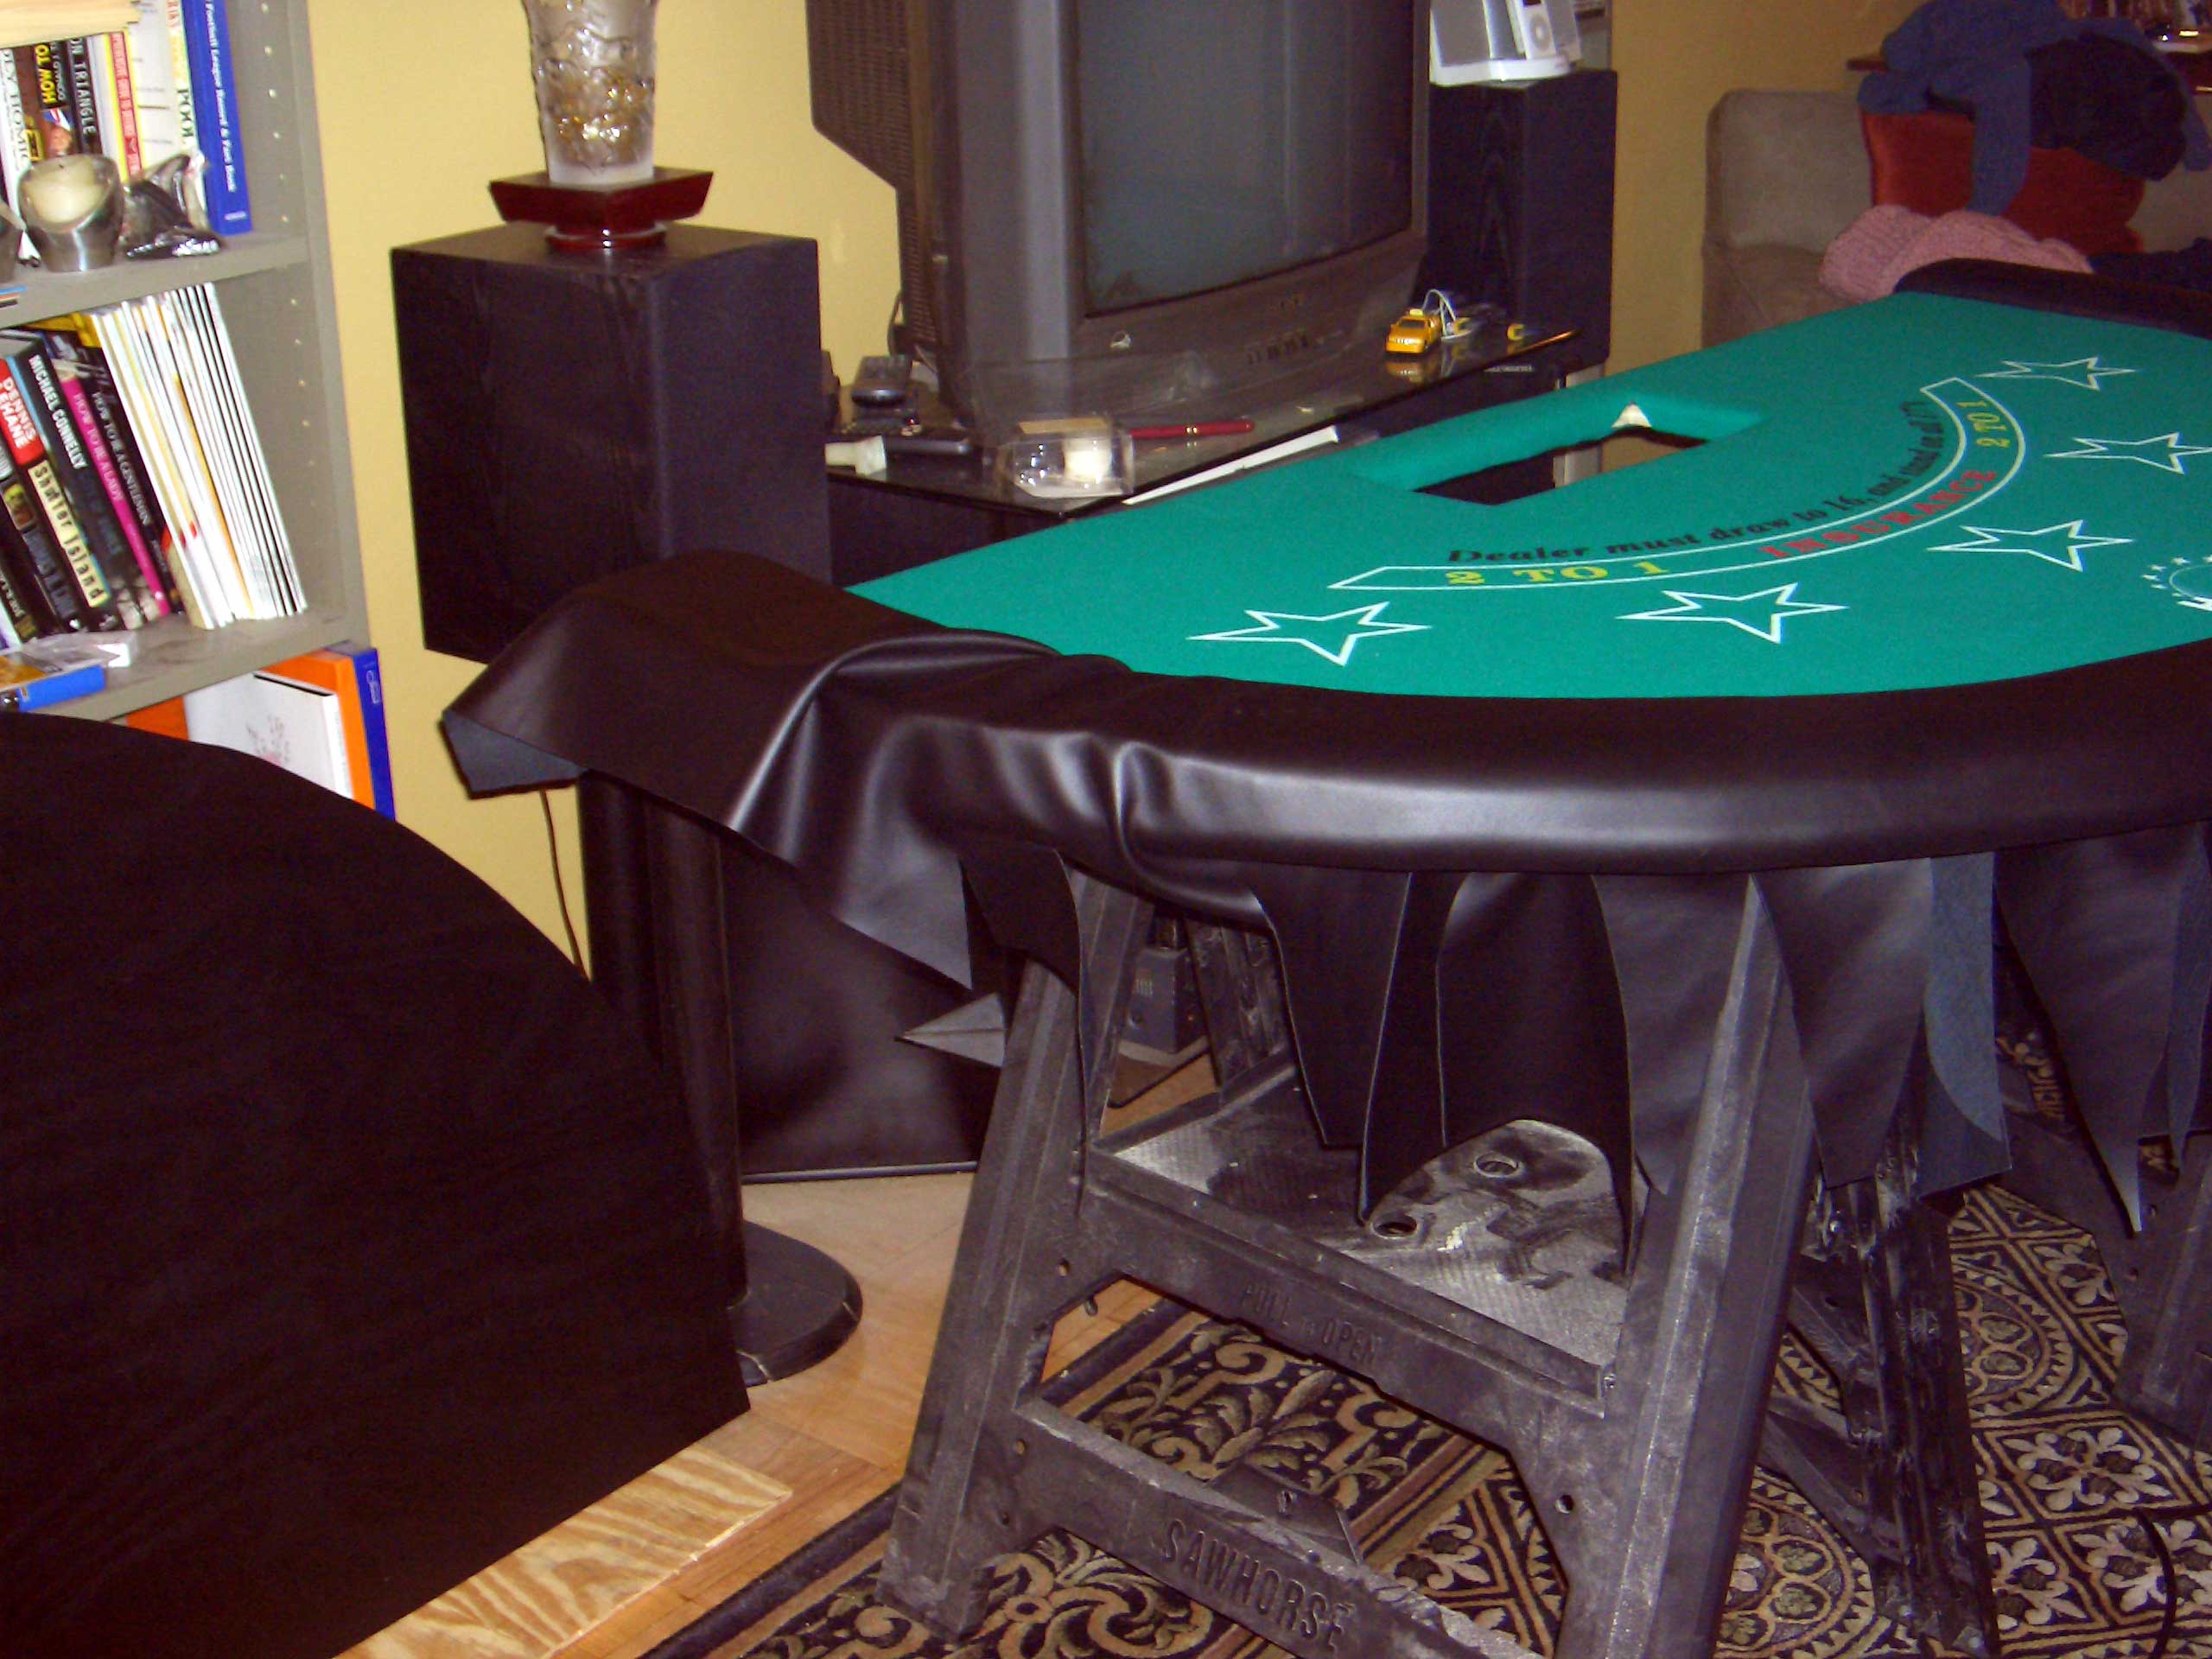
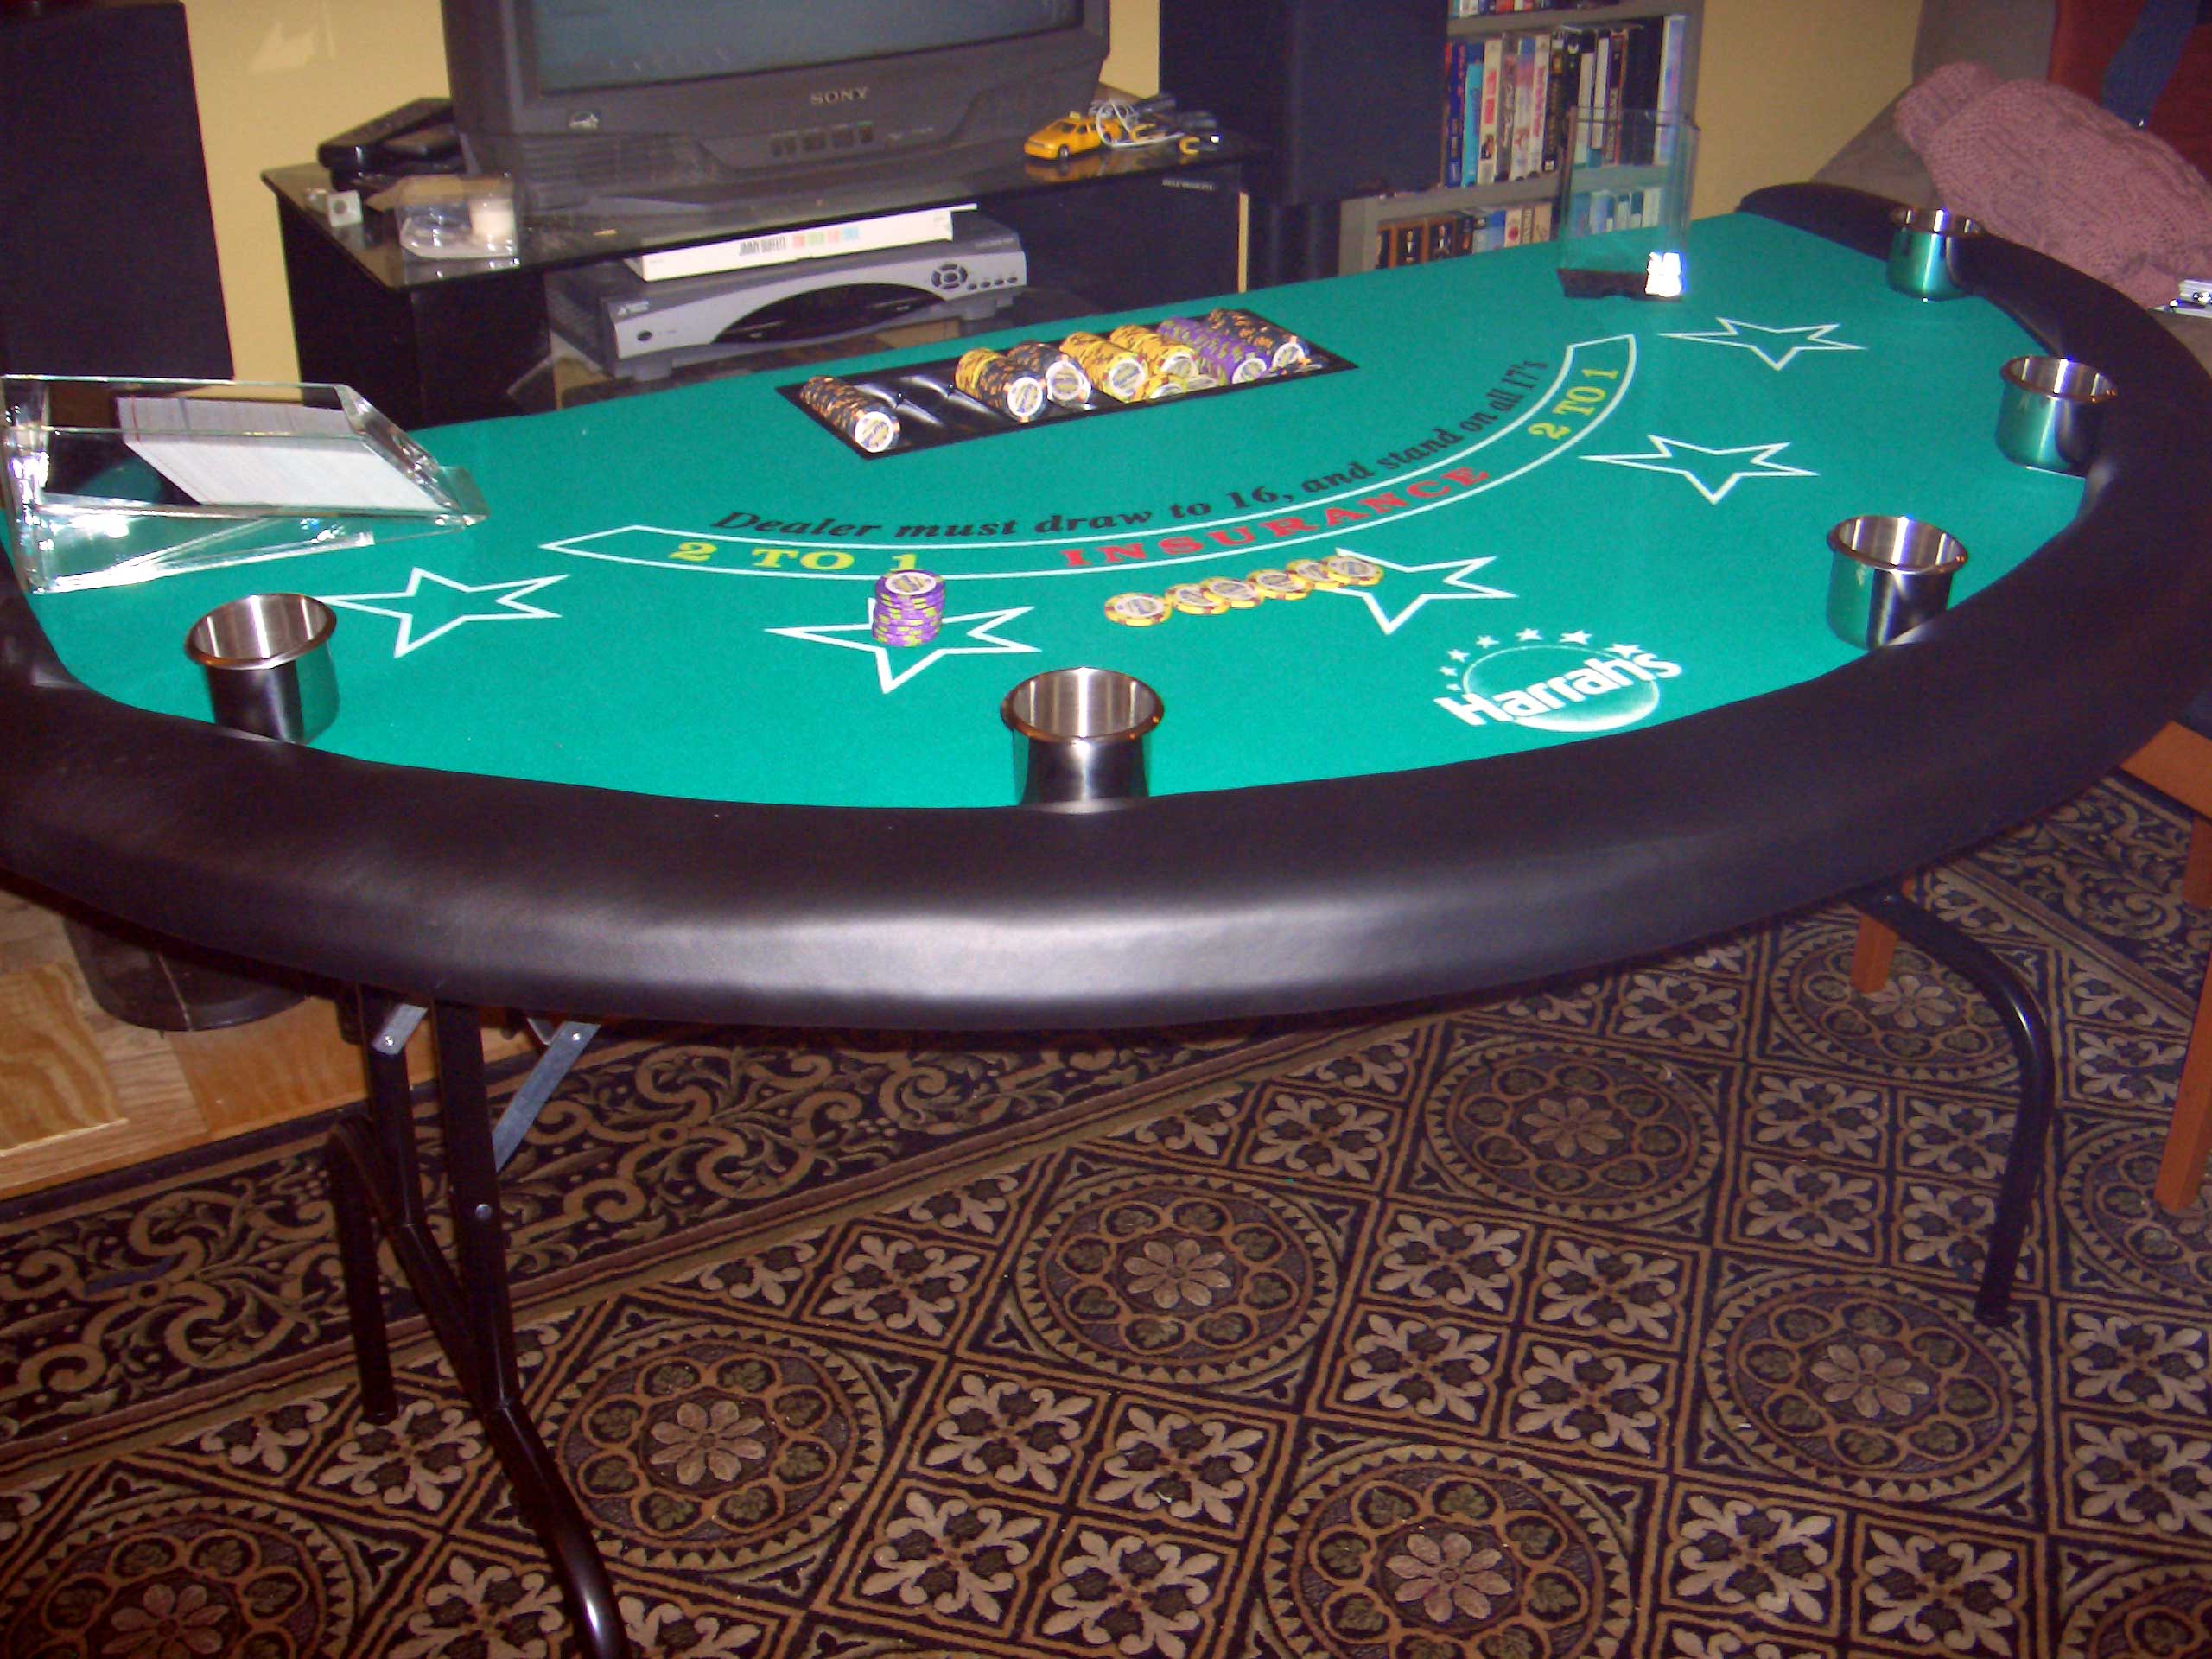
My wife and I saw your website and were determined to make a table of our own. This was quite a task in our one bedroom apartment in midtown Manhattan. While we were using the circular saw we set off the fire alarm due to all the sawdust! The folding legs are great for us as we plan to store the table under our king-size bed.
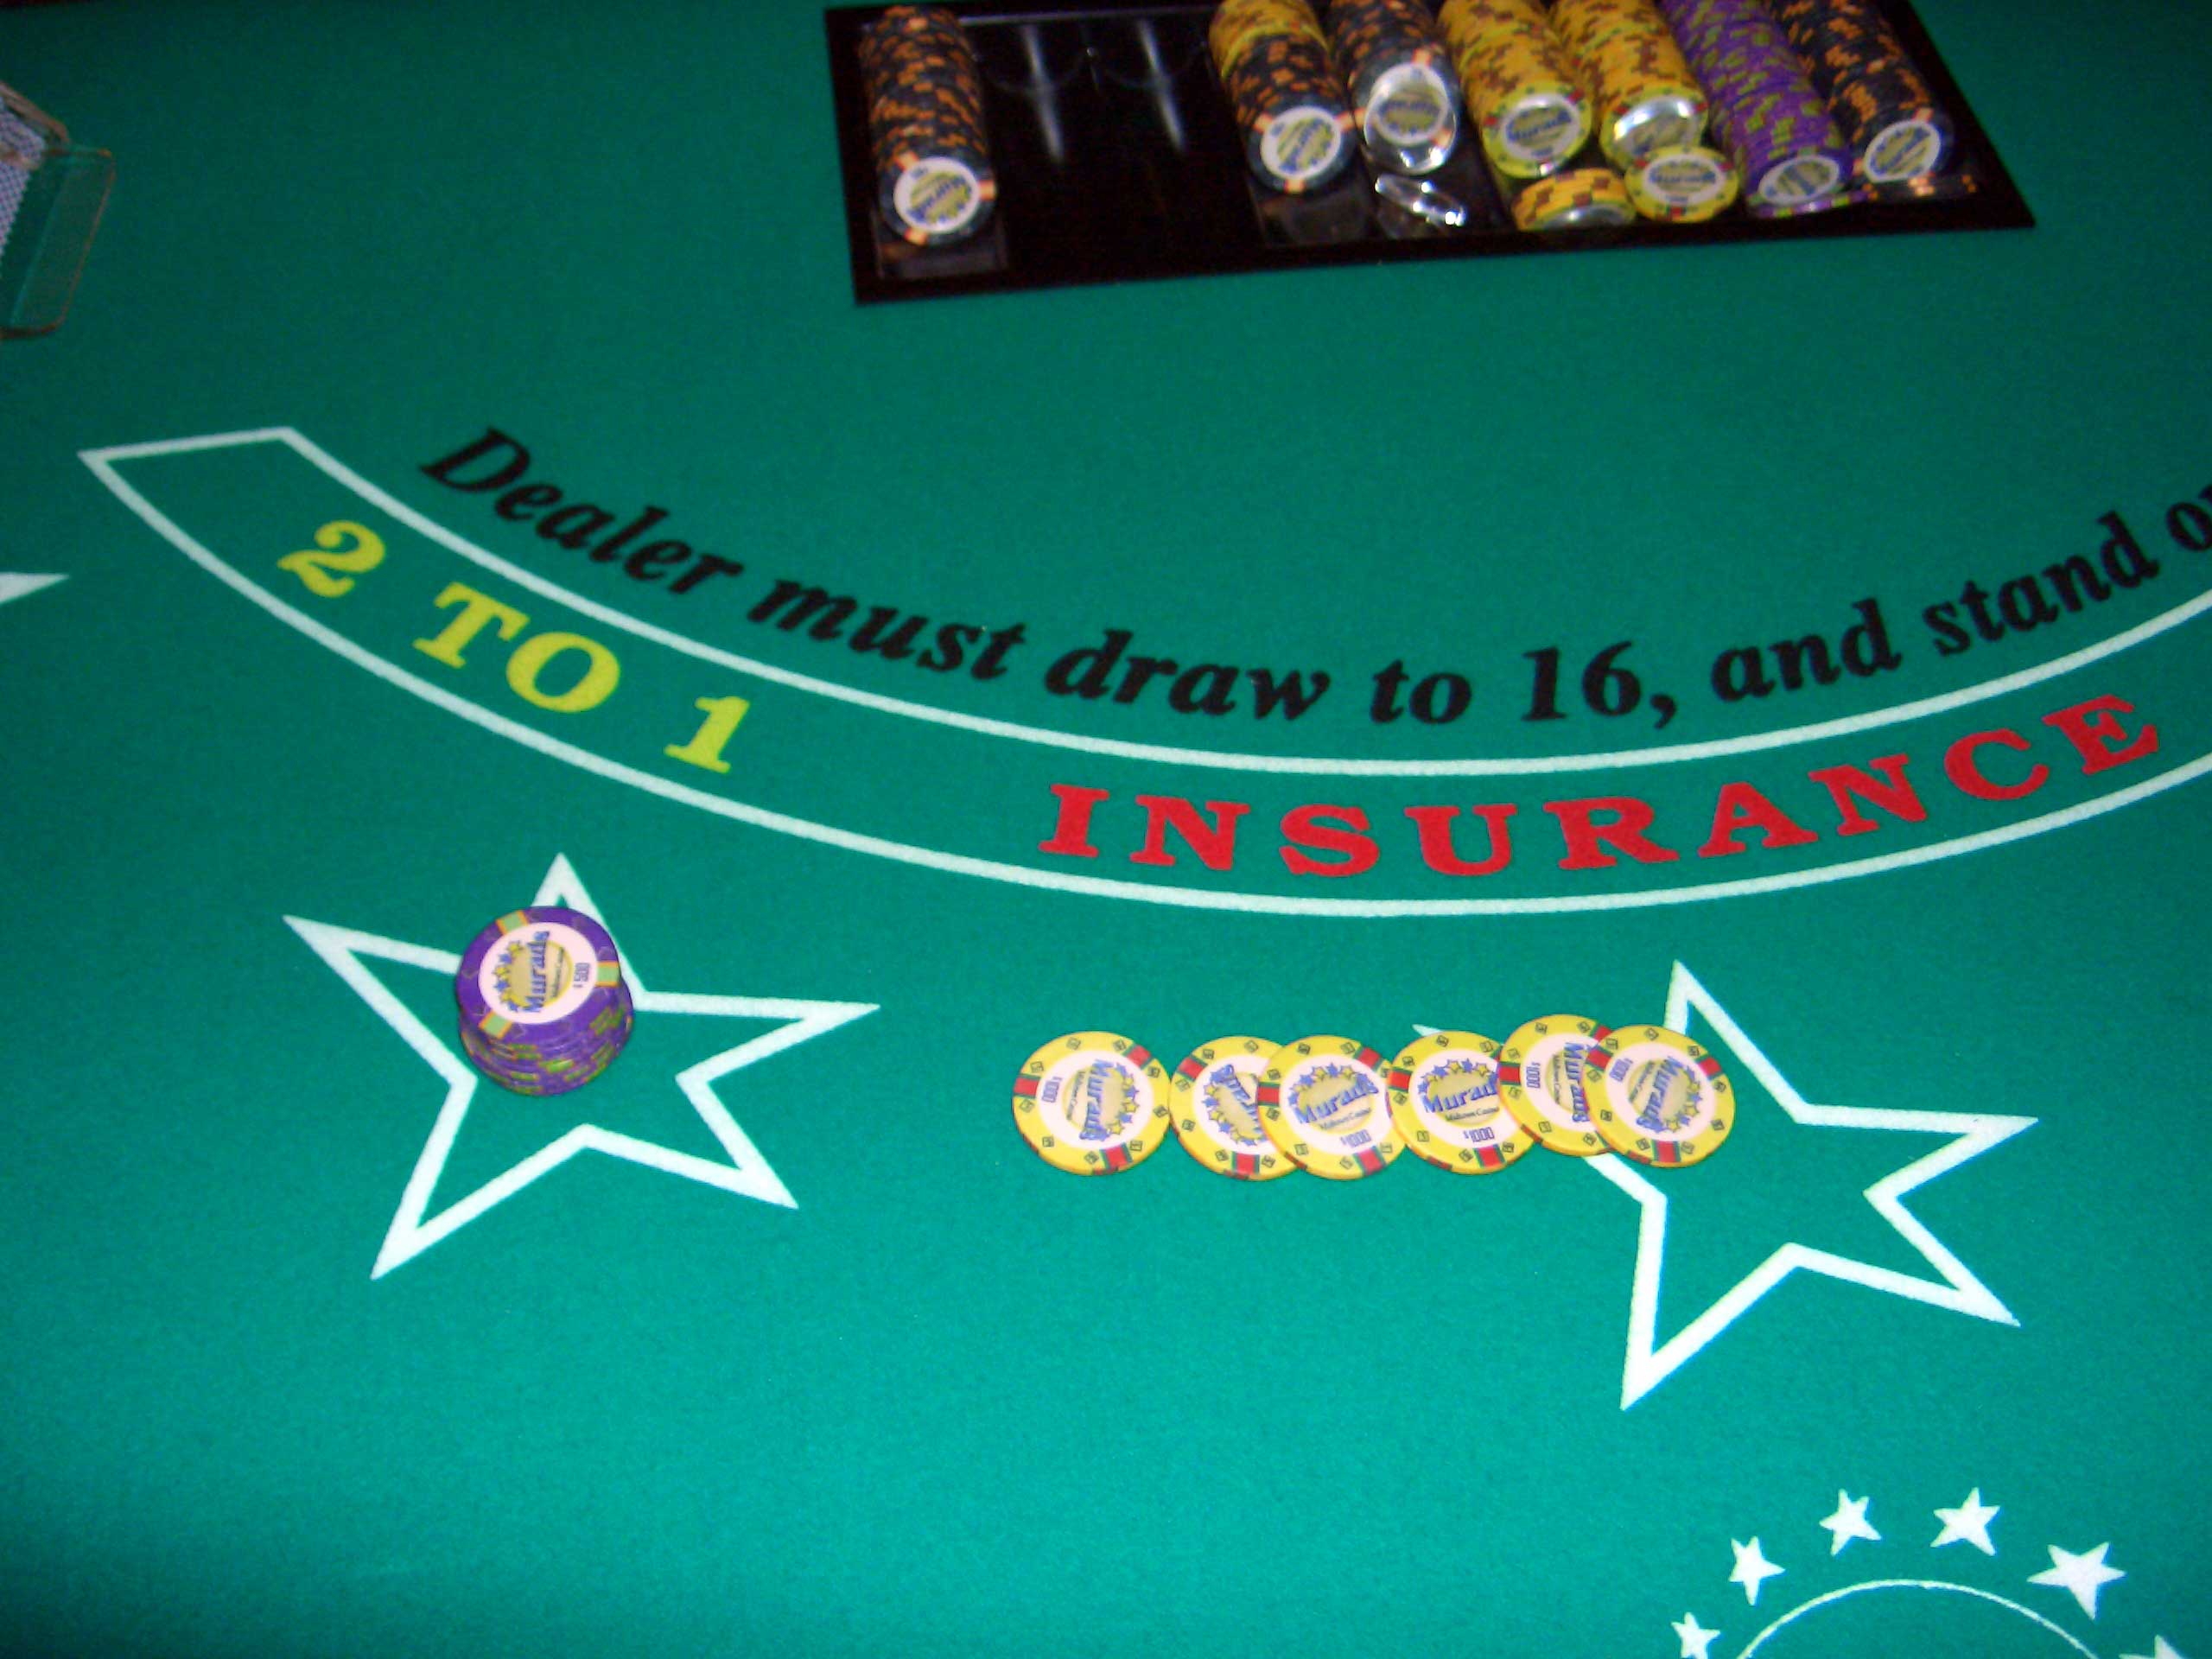
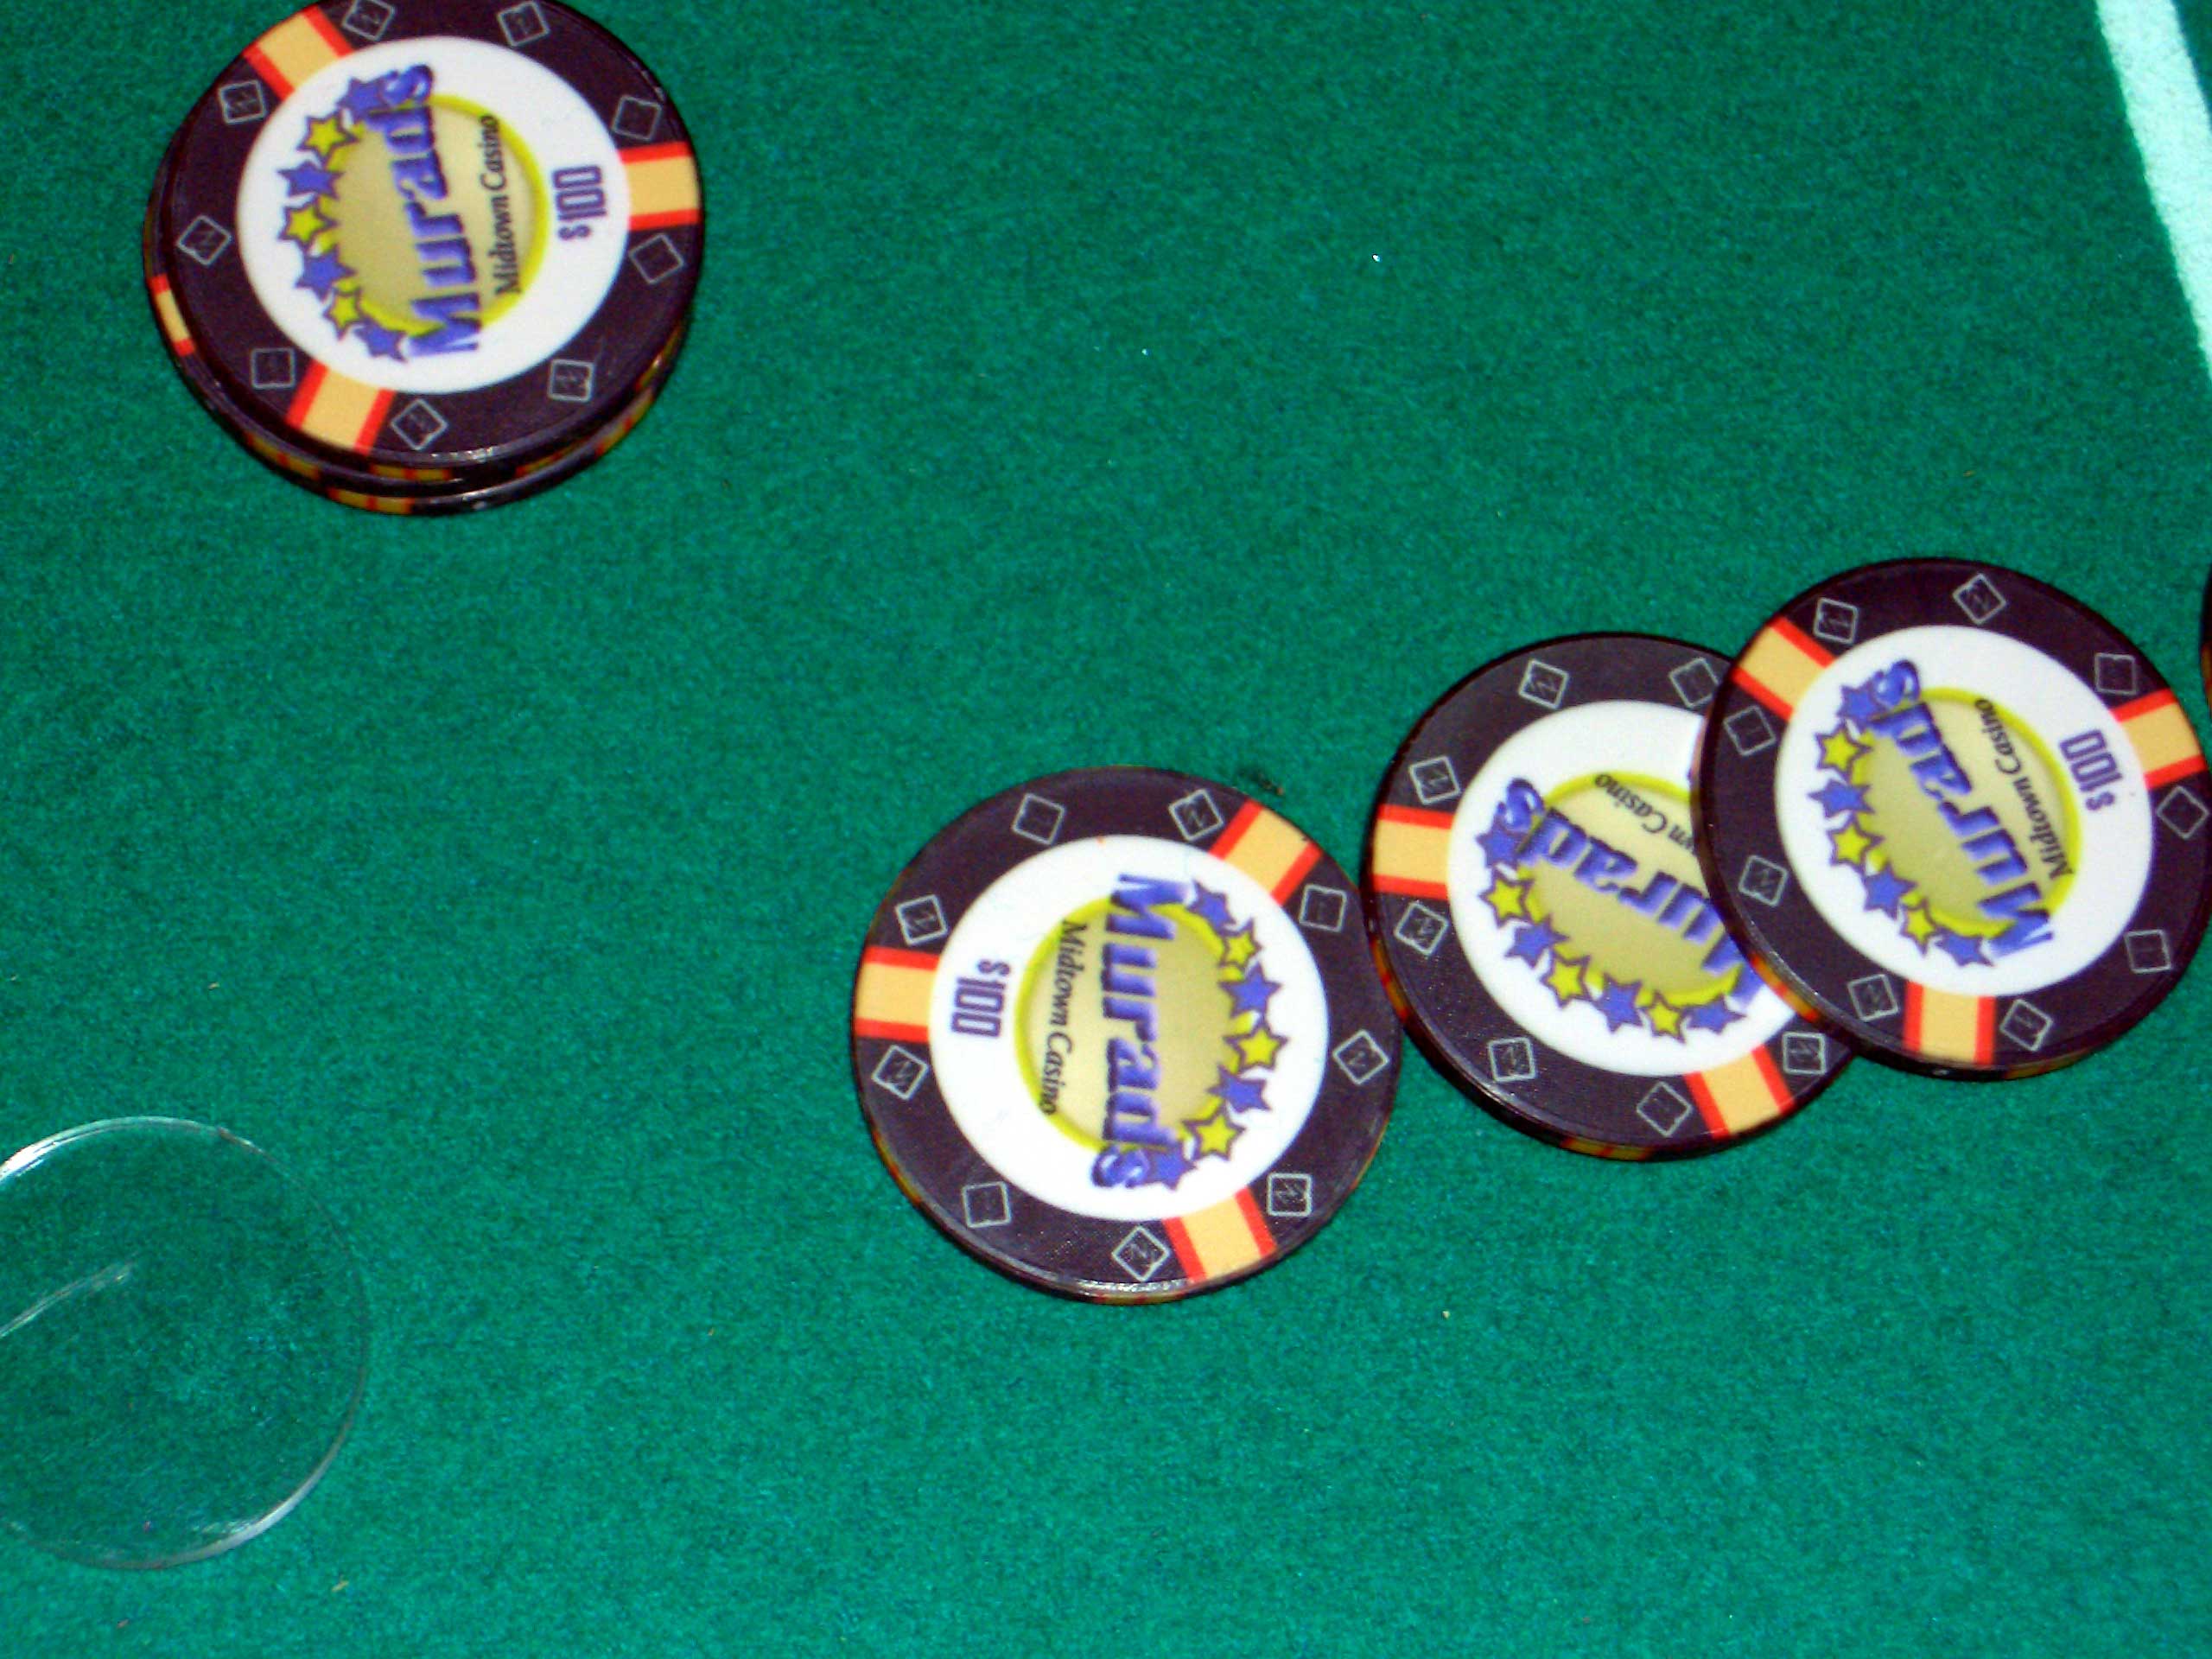
Inspirations: We particularly loved Bob's Sun City table and combined his technique for the rail with information we learned from the poker table building sites. We also went a bit nuts and ordered custom poker chips from Nevada Jacks to compliment our table. We are extremely pleased with the results and have been enjoying the smooth play on our table since it first went up on sawhorses!
Here is how we did it:
Materials:
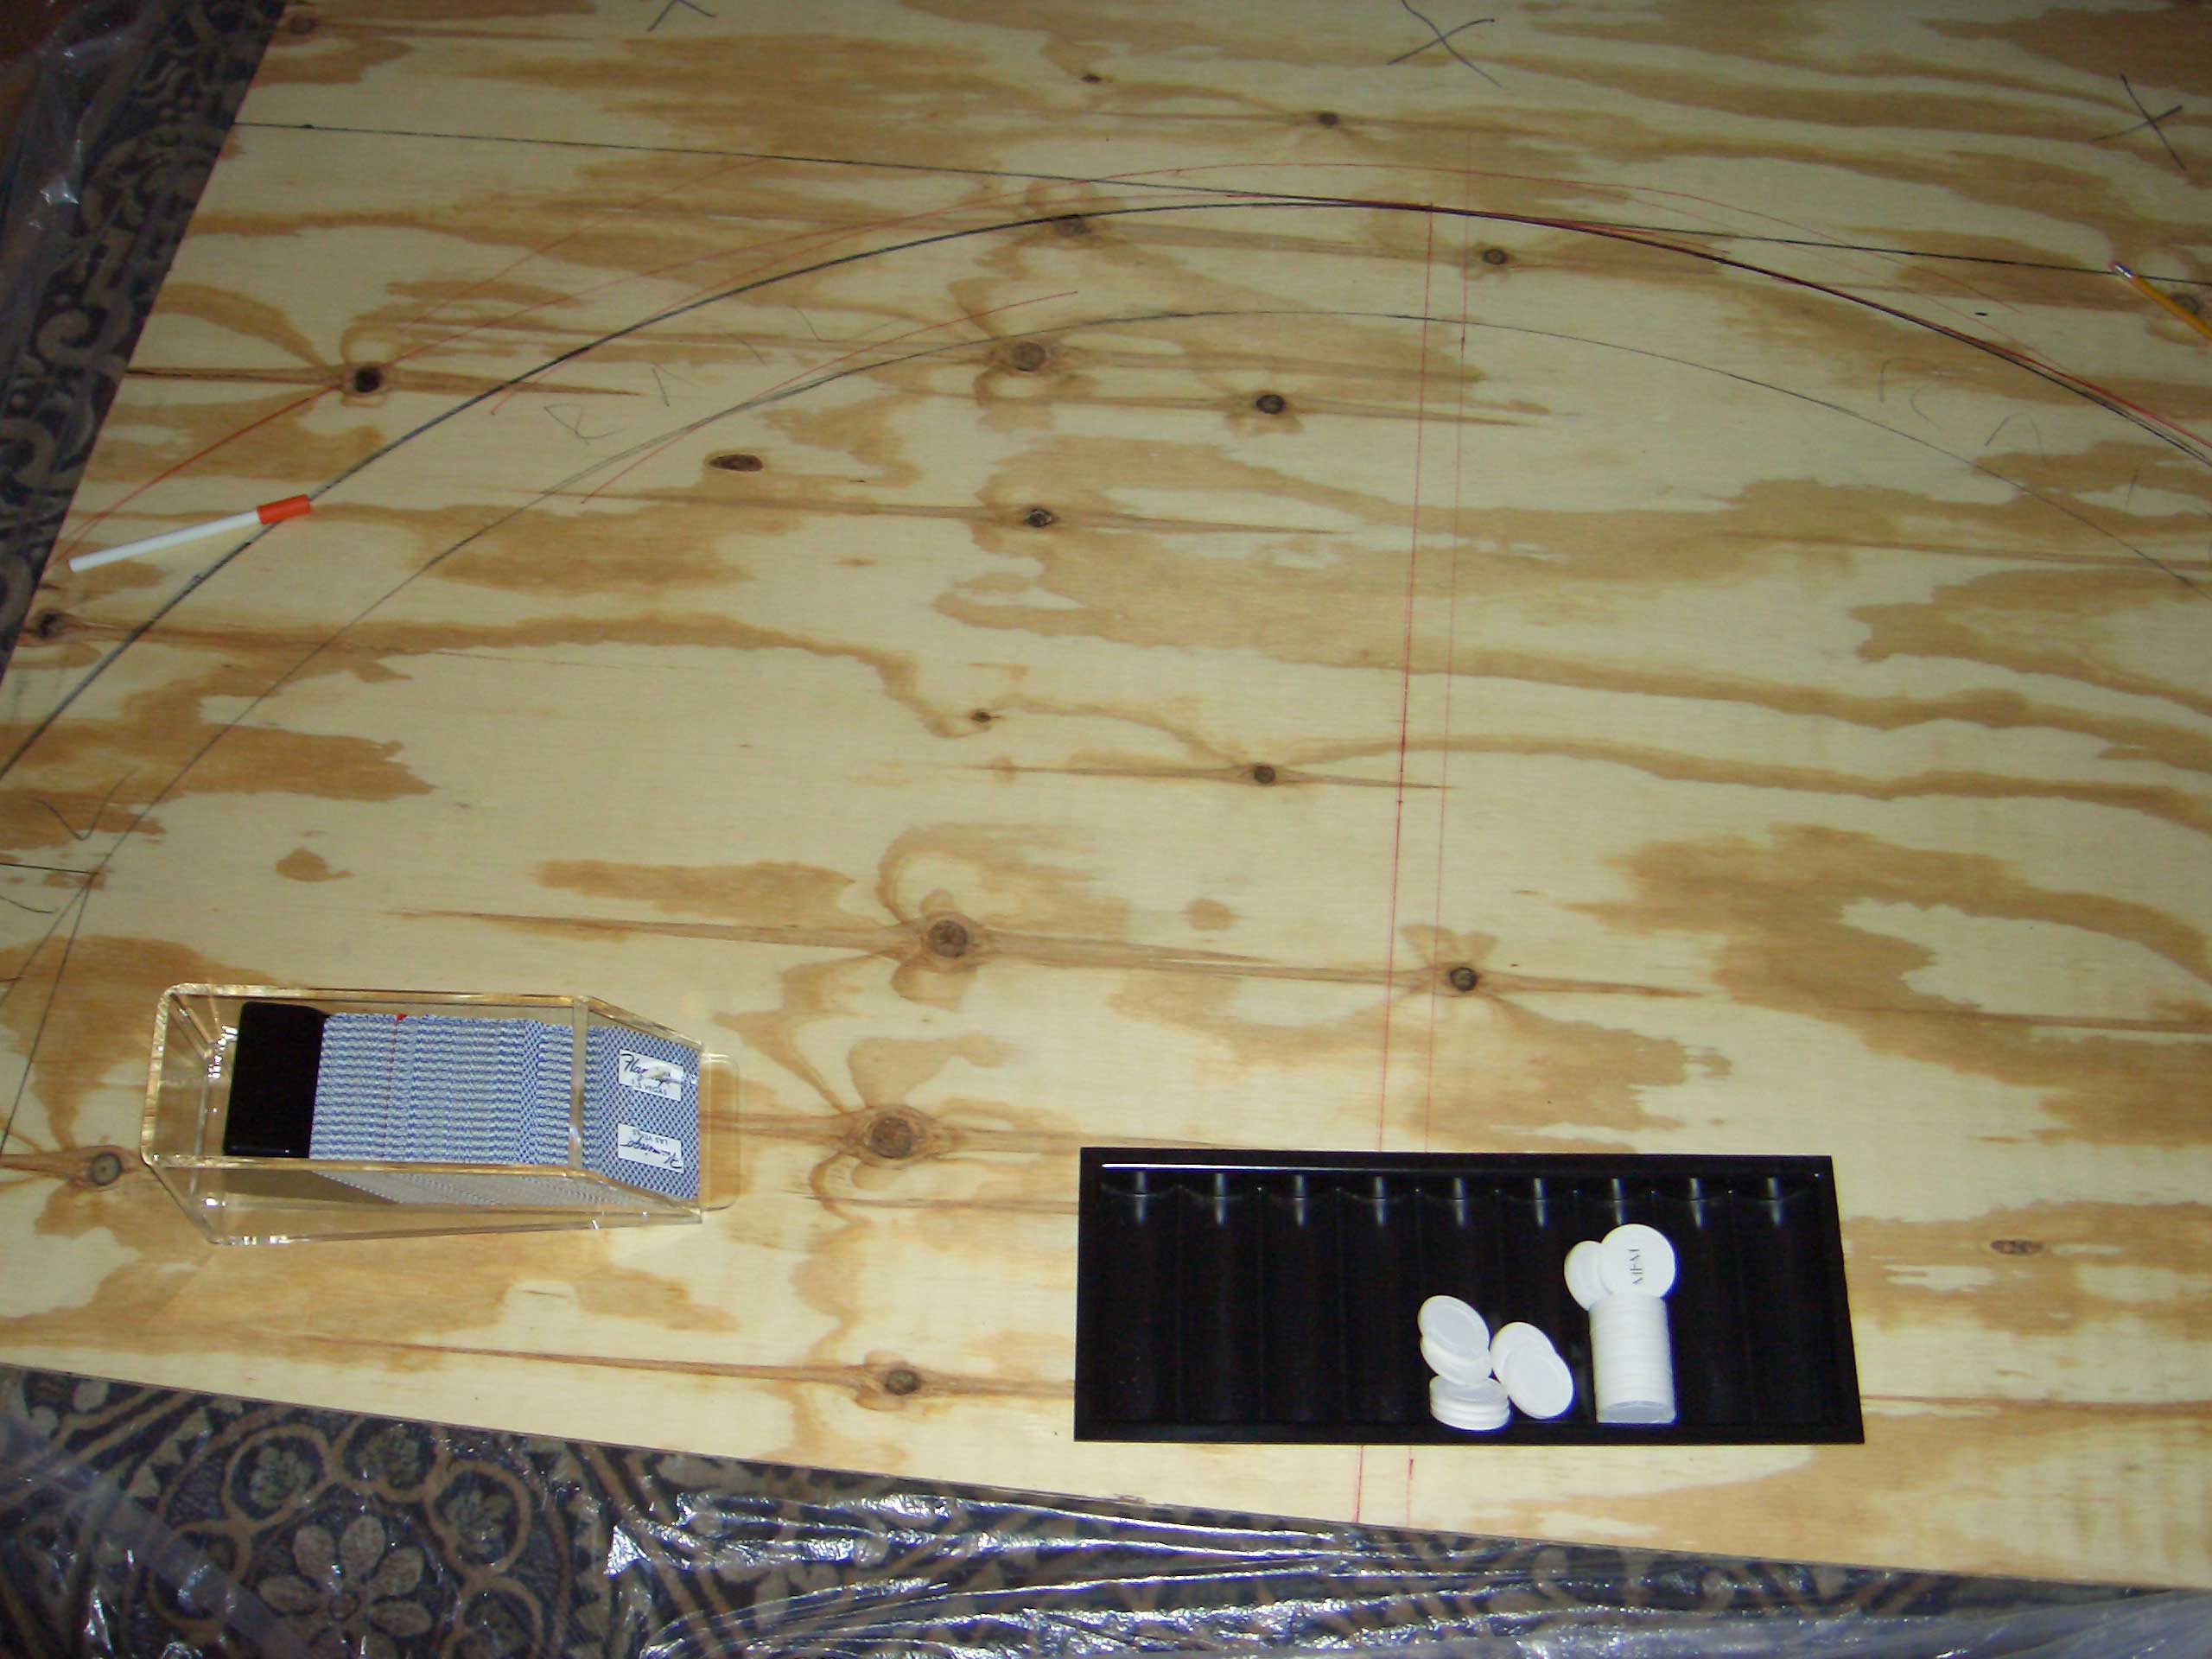
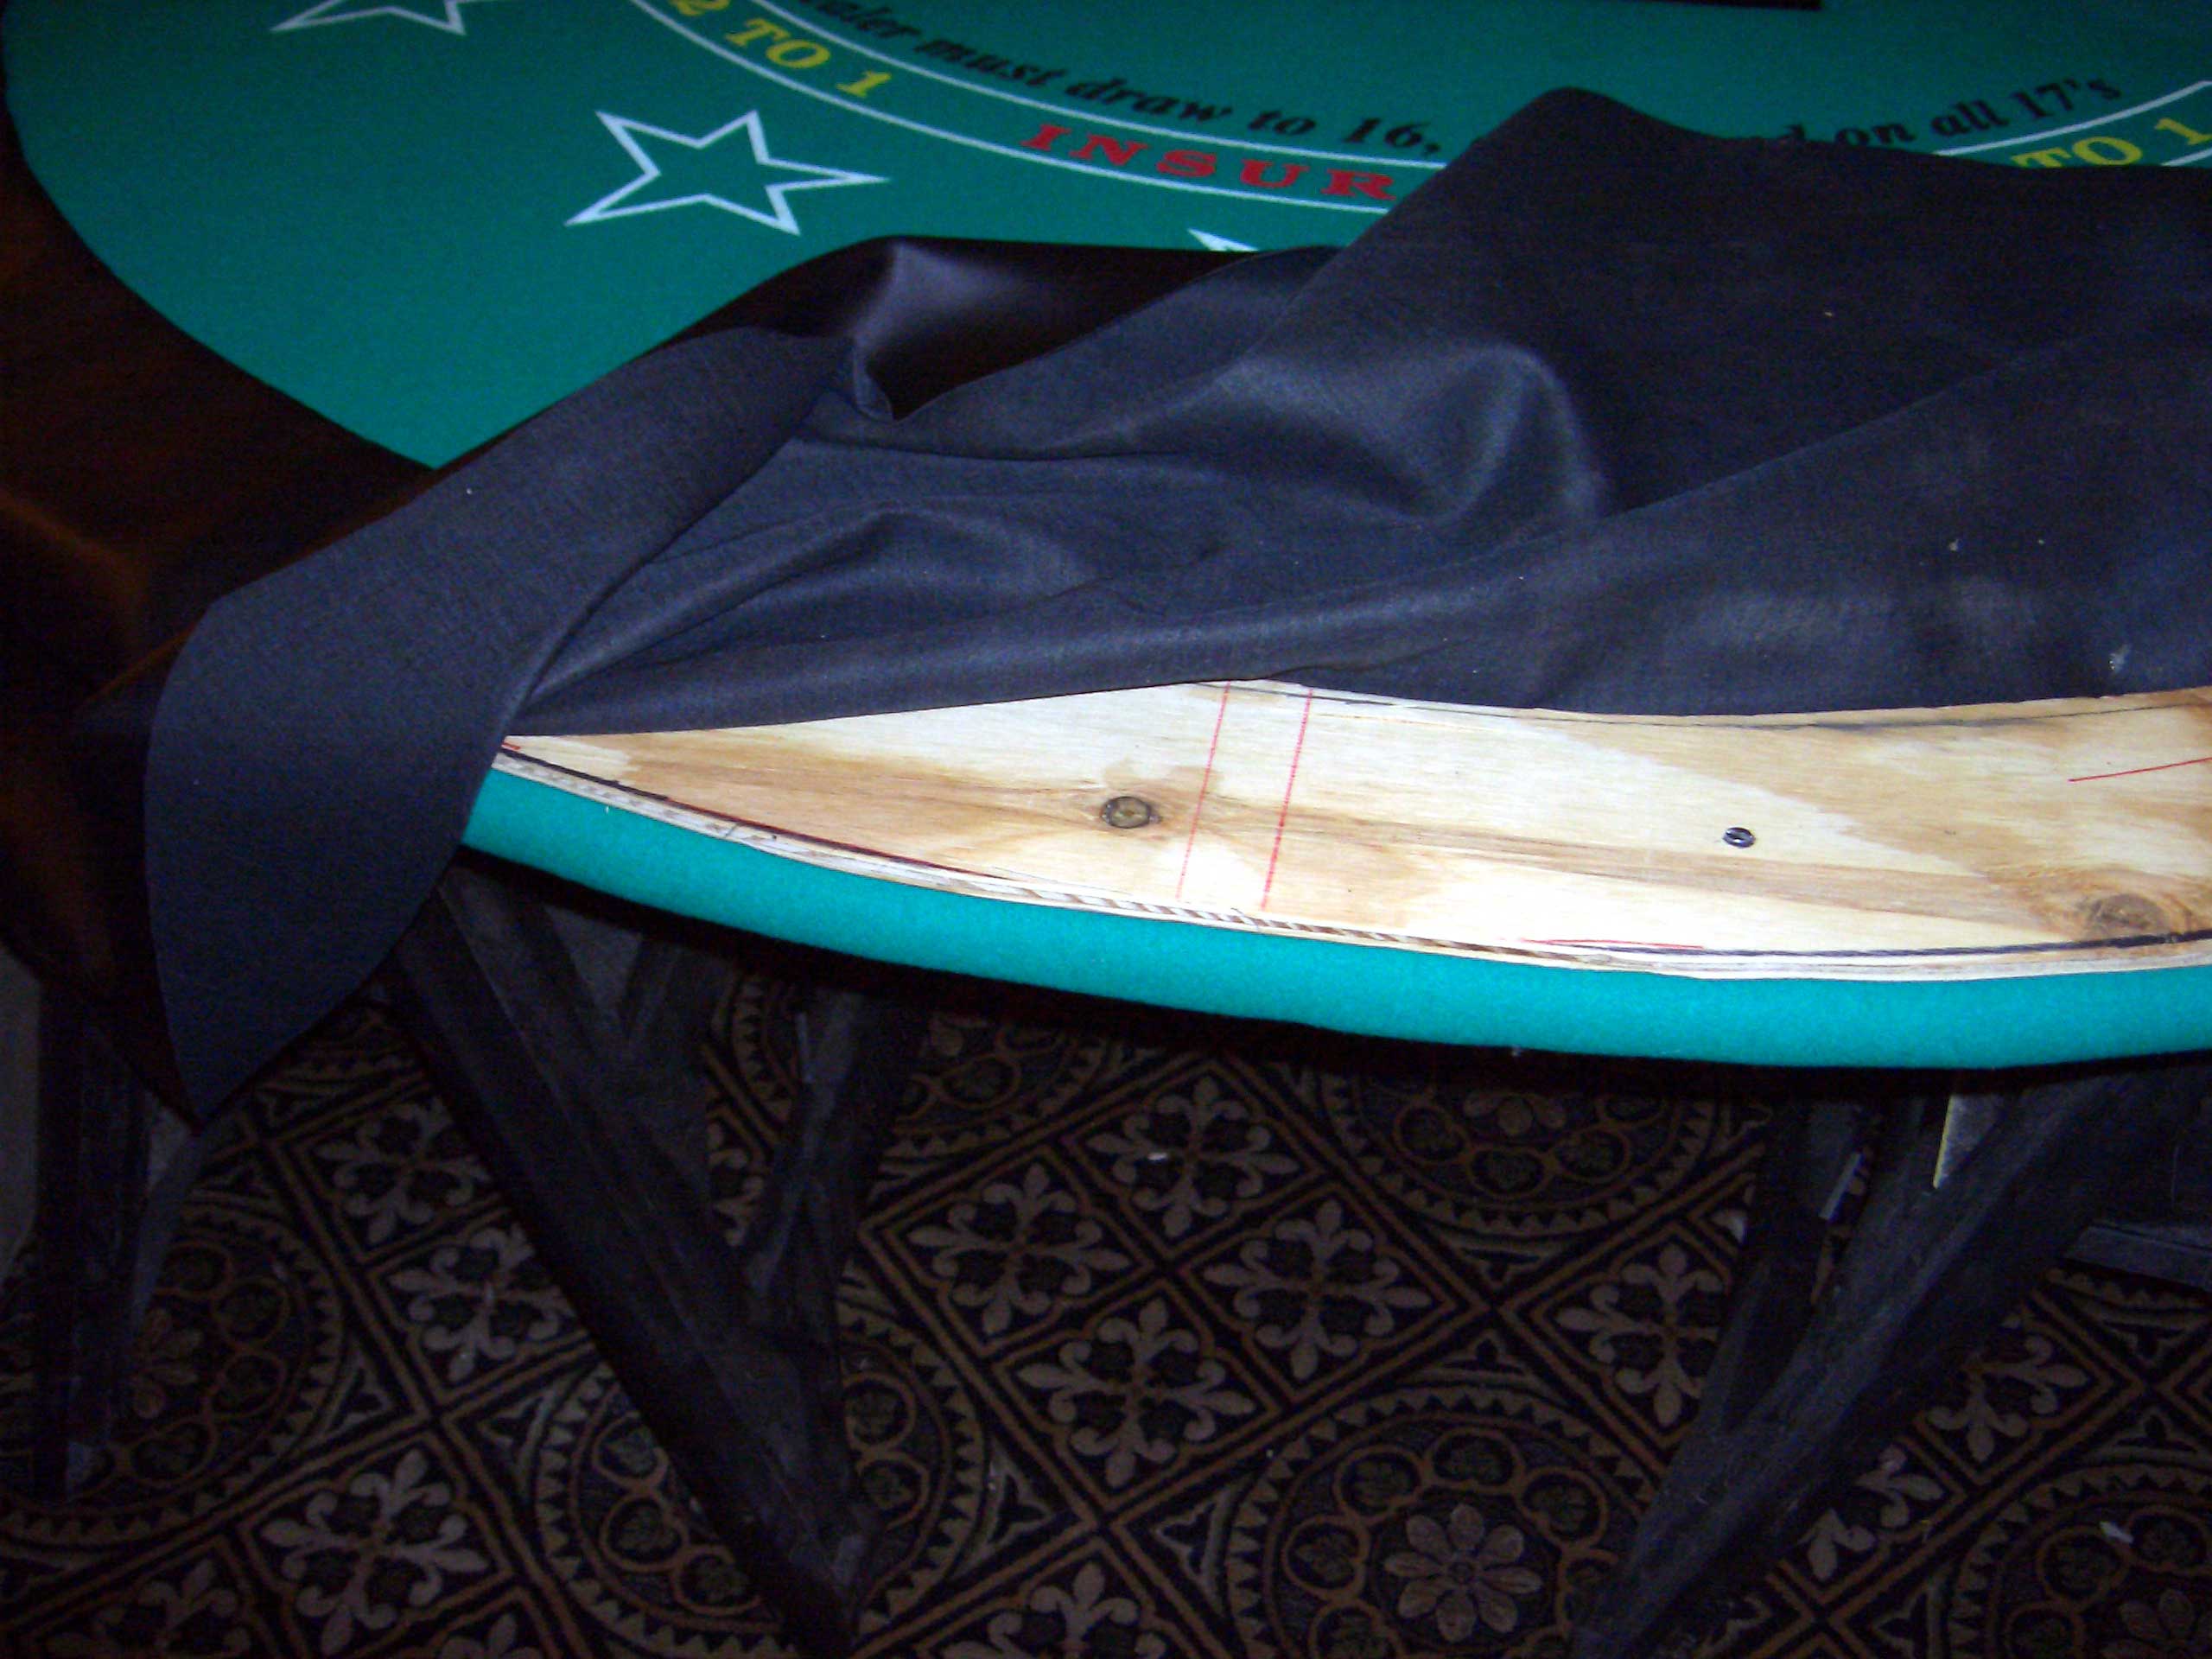
On the pine plywood, we drew the shape of the table and the rail using the method described with a yardstick and a marker. We cut out the rail with a jigsaw and sanded until we were happy with the edges and shape. We saved the inside piece for the baseboard (does not cover entire table) and traced the rail on the ¾" oak plywood. We cut that shape out and sanded it to match the outer edges of the rail.
We measured the plastic chip tray and made the pocket cut in the oak with a jigsaw. We cut it way too small and had to use a metal file in addition to a lot of sanding to get the tray in. The result now is that we have a really nice tight fit for the tray. We spray glued the ¼" foam and rolled it onto the oak piece and let it dry. My wife used a rolling pin for this step and it worked great!
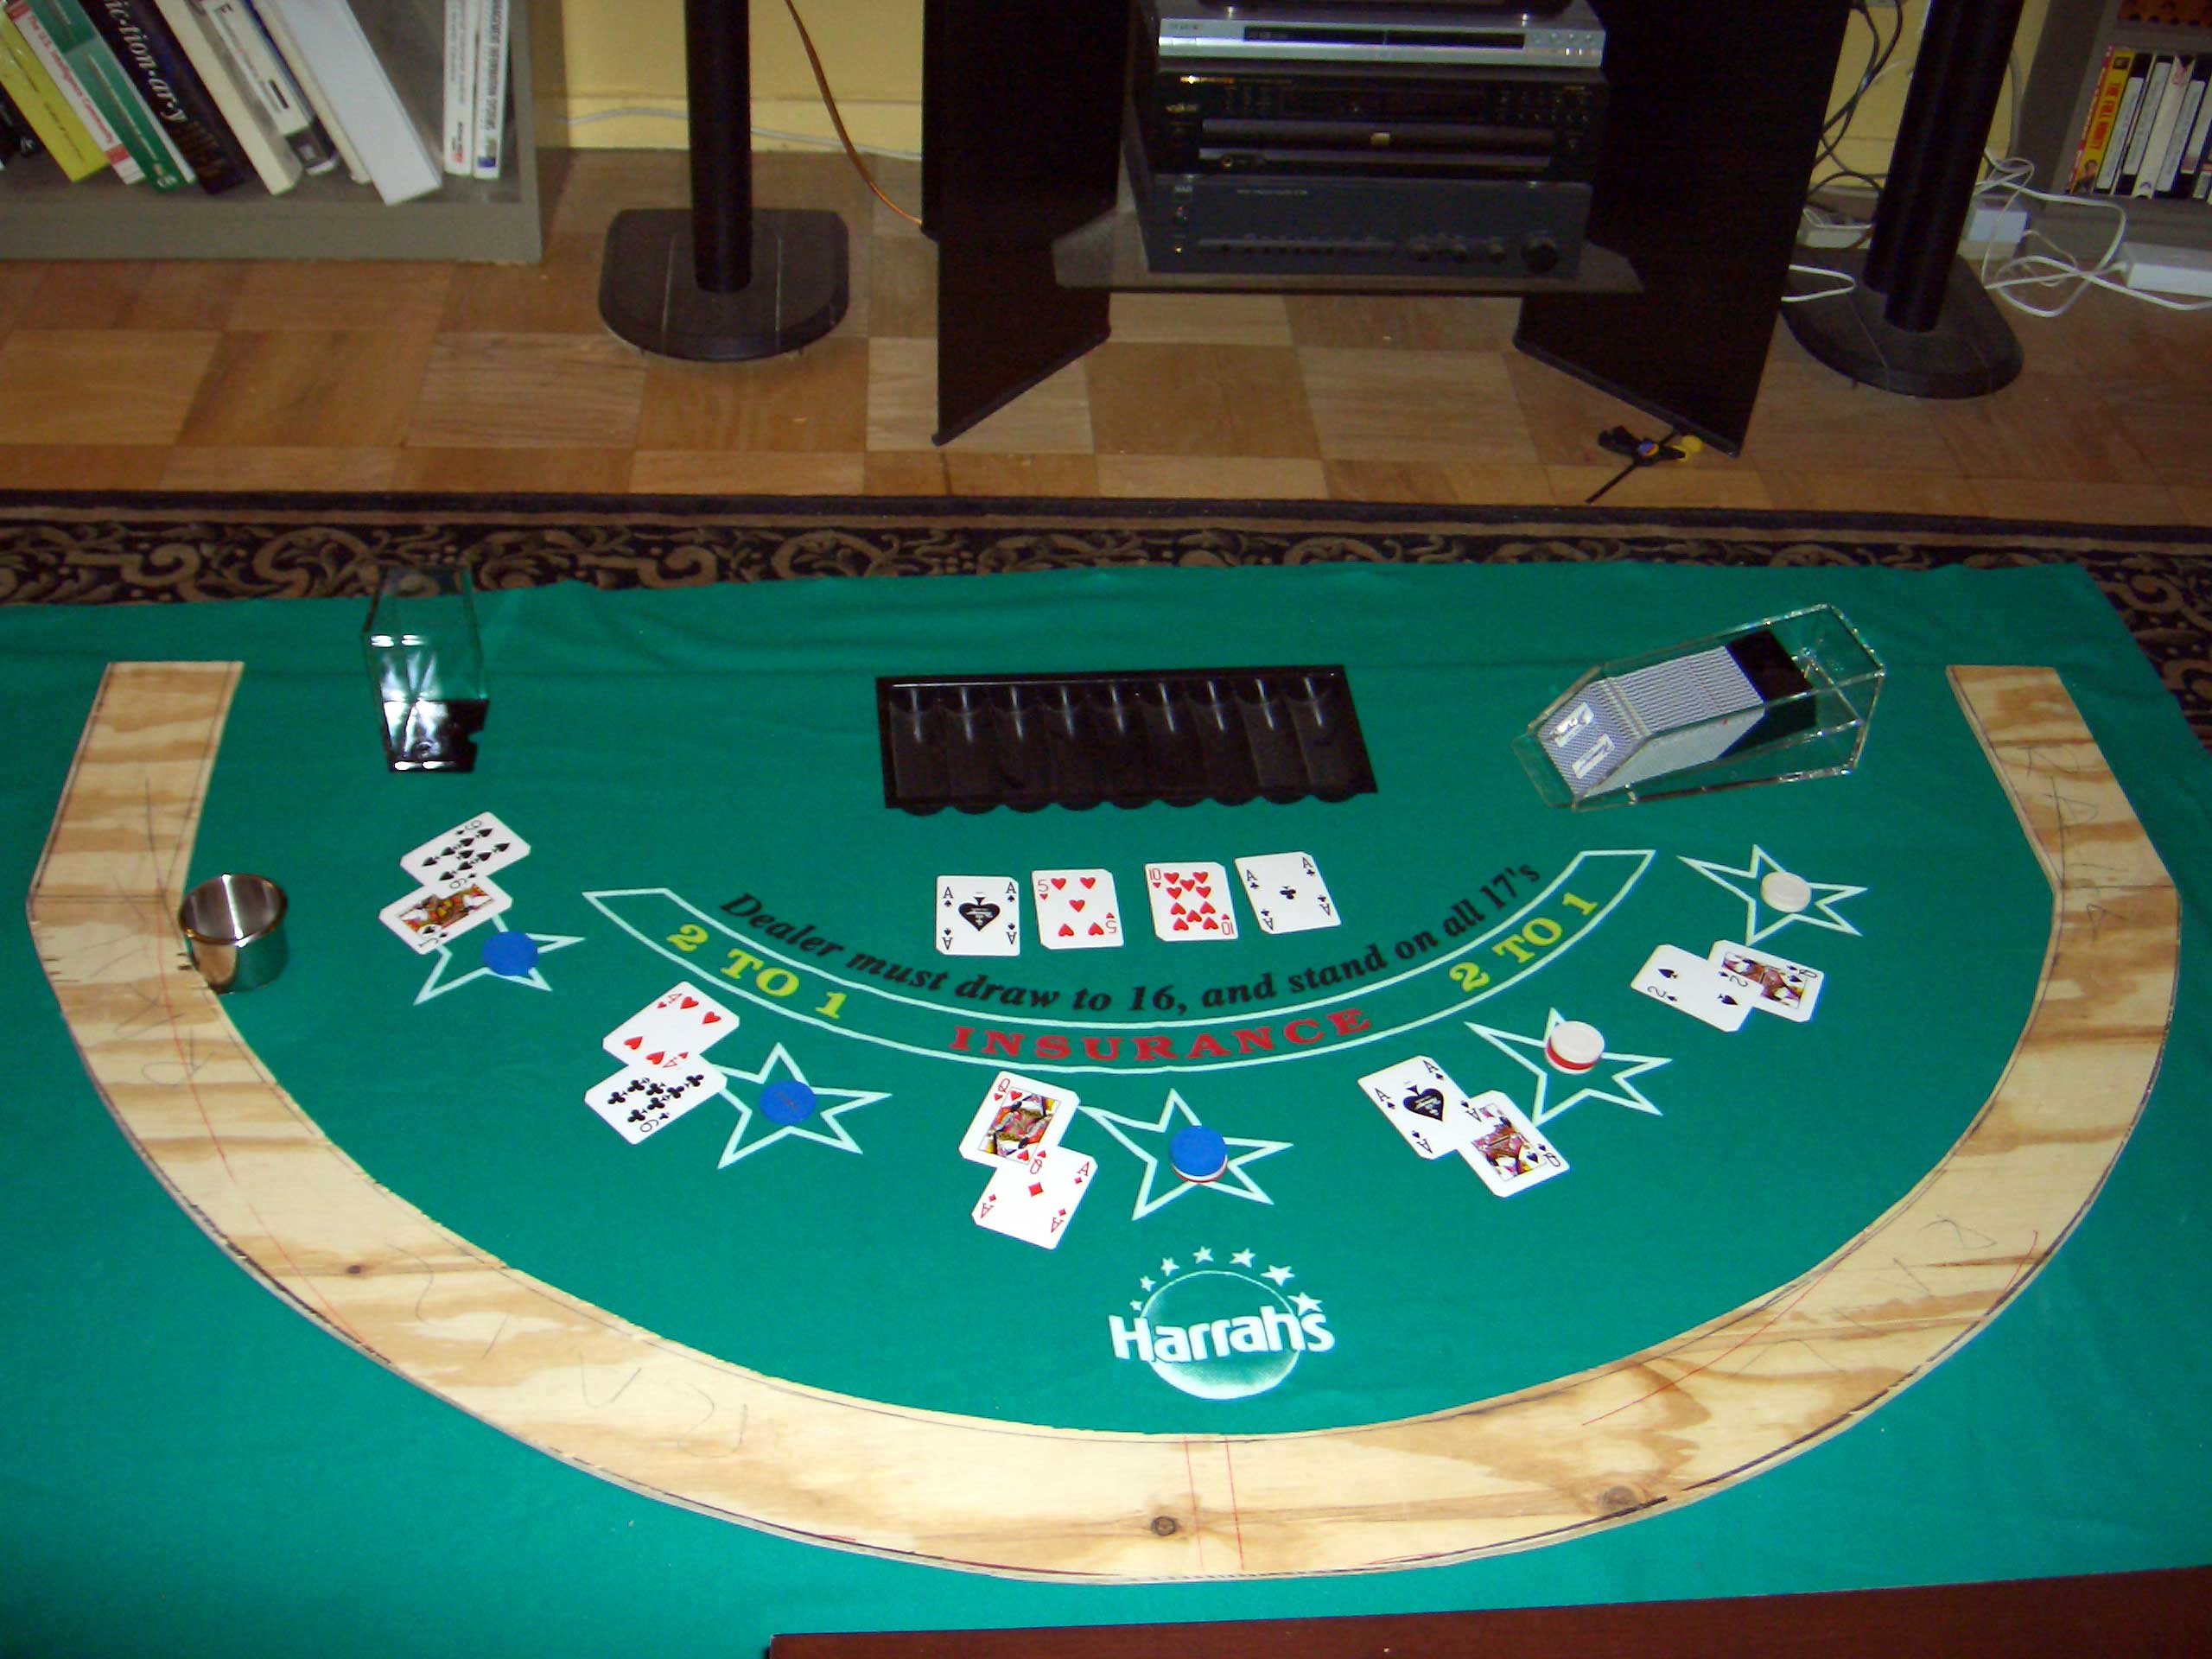
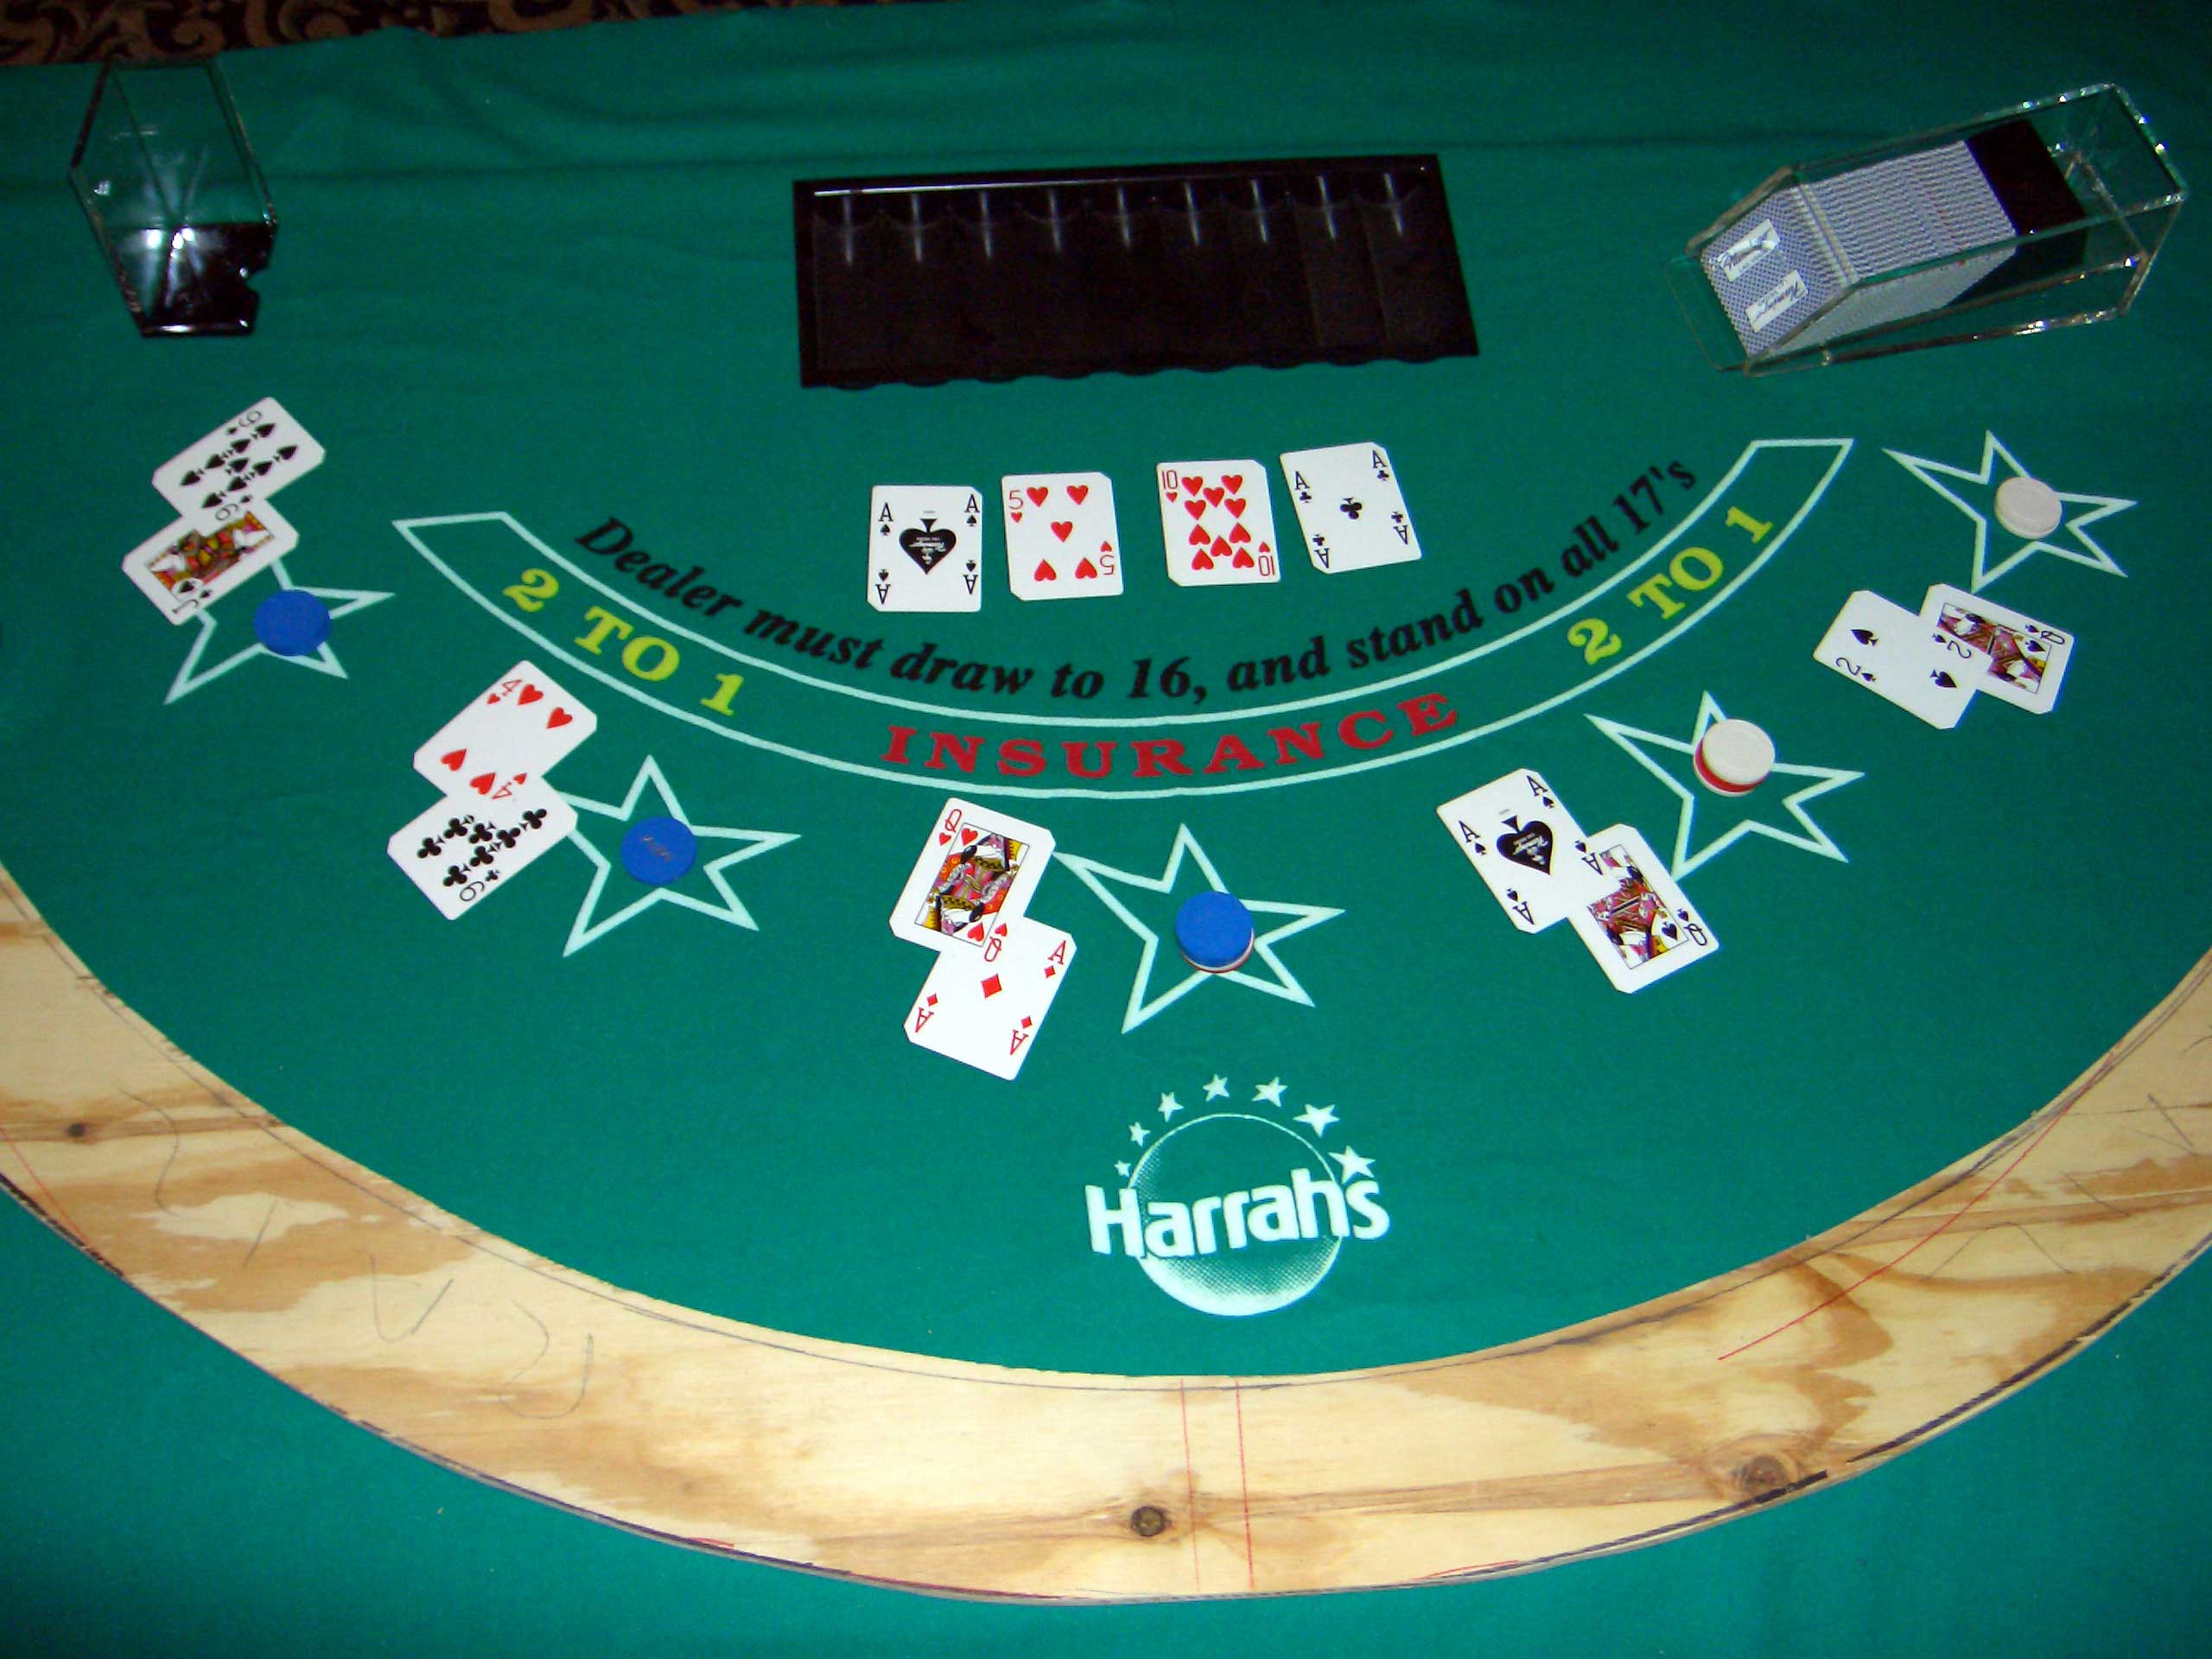
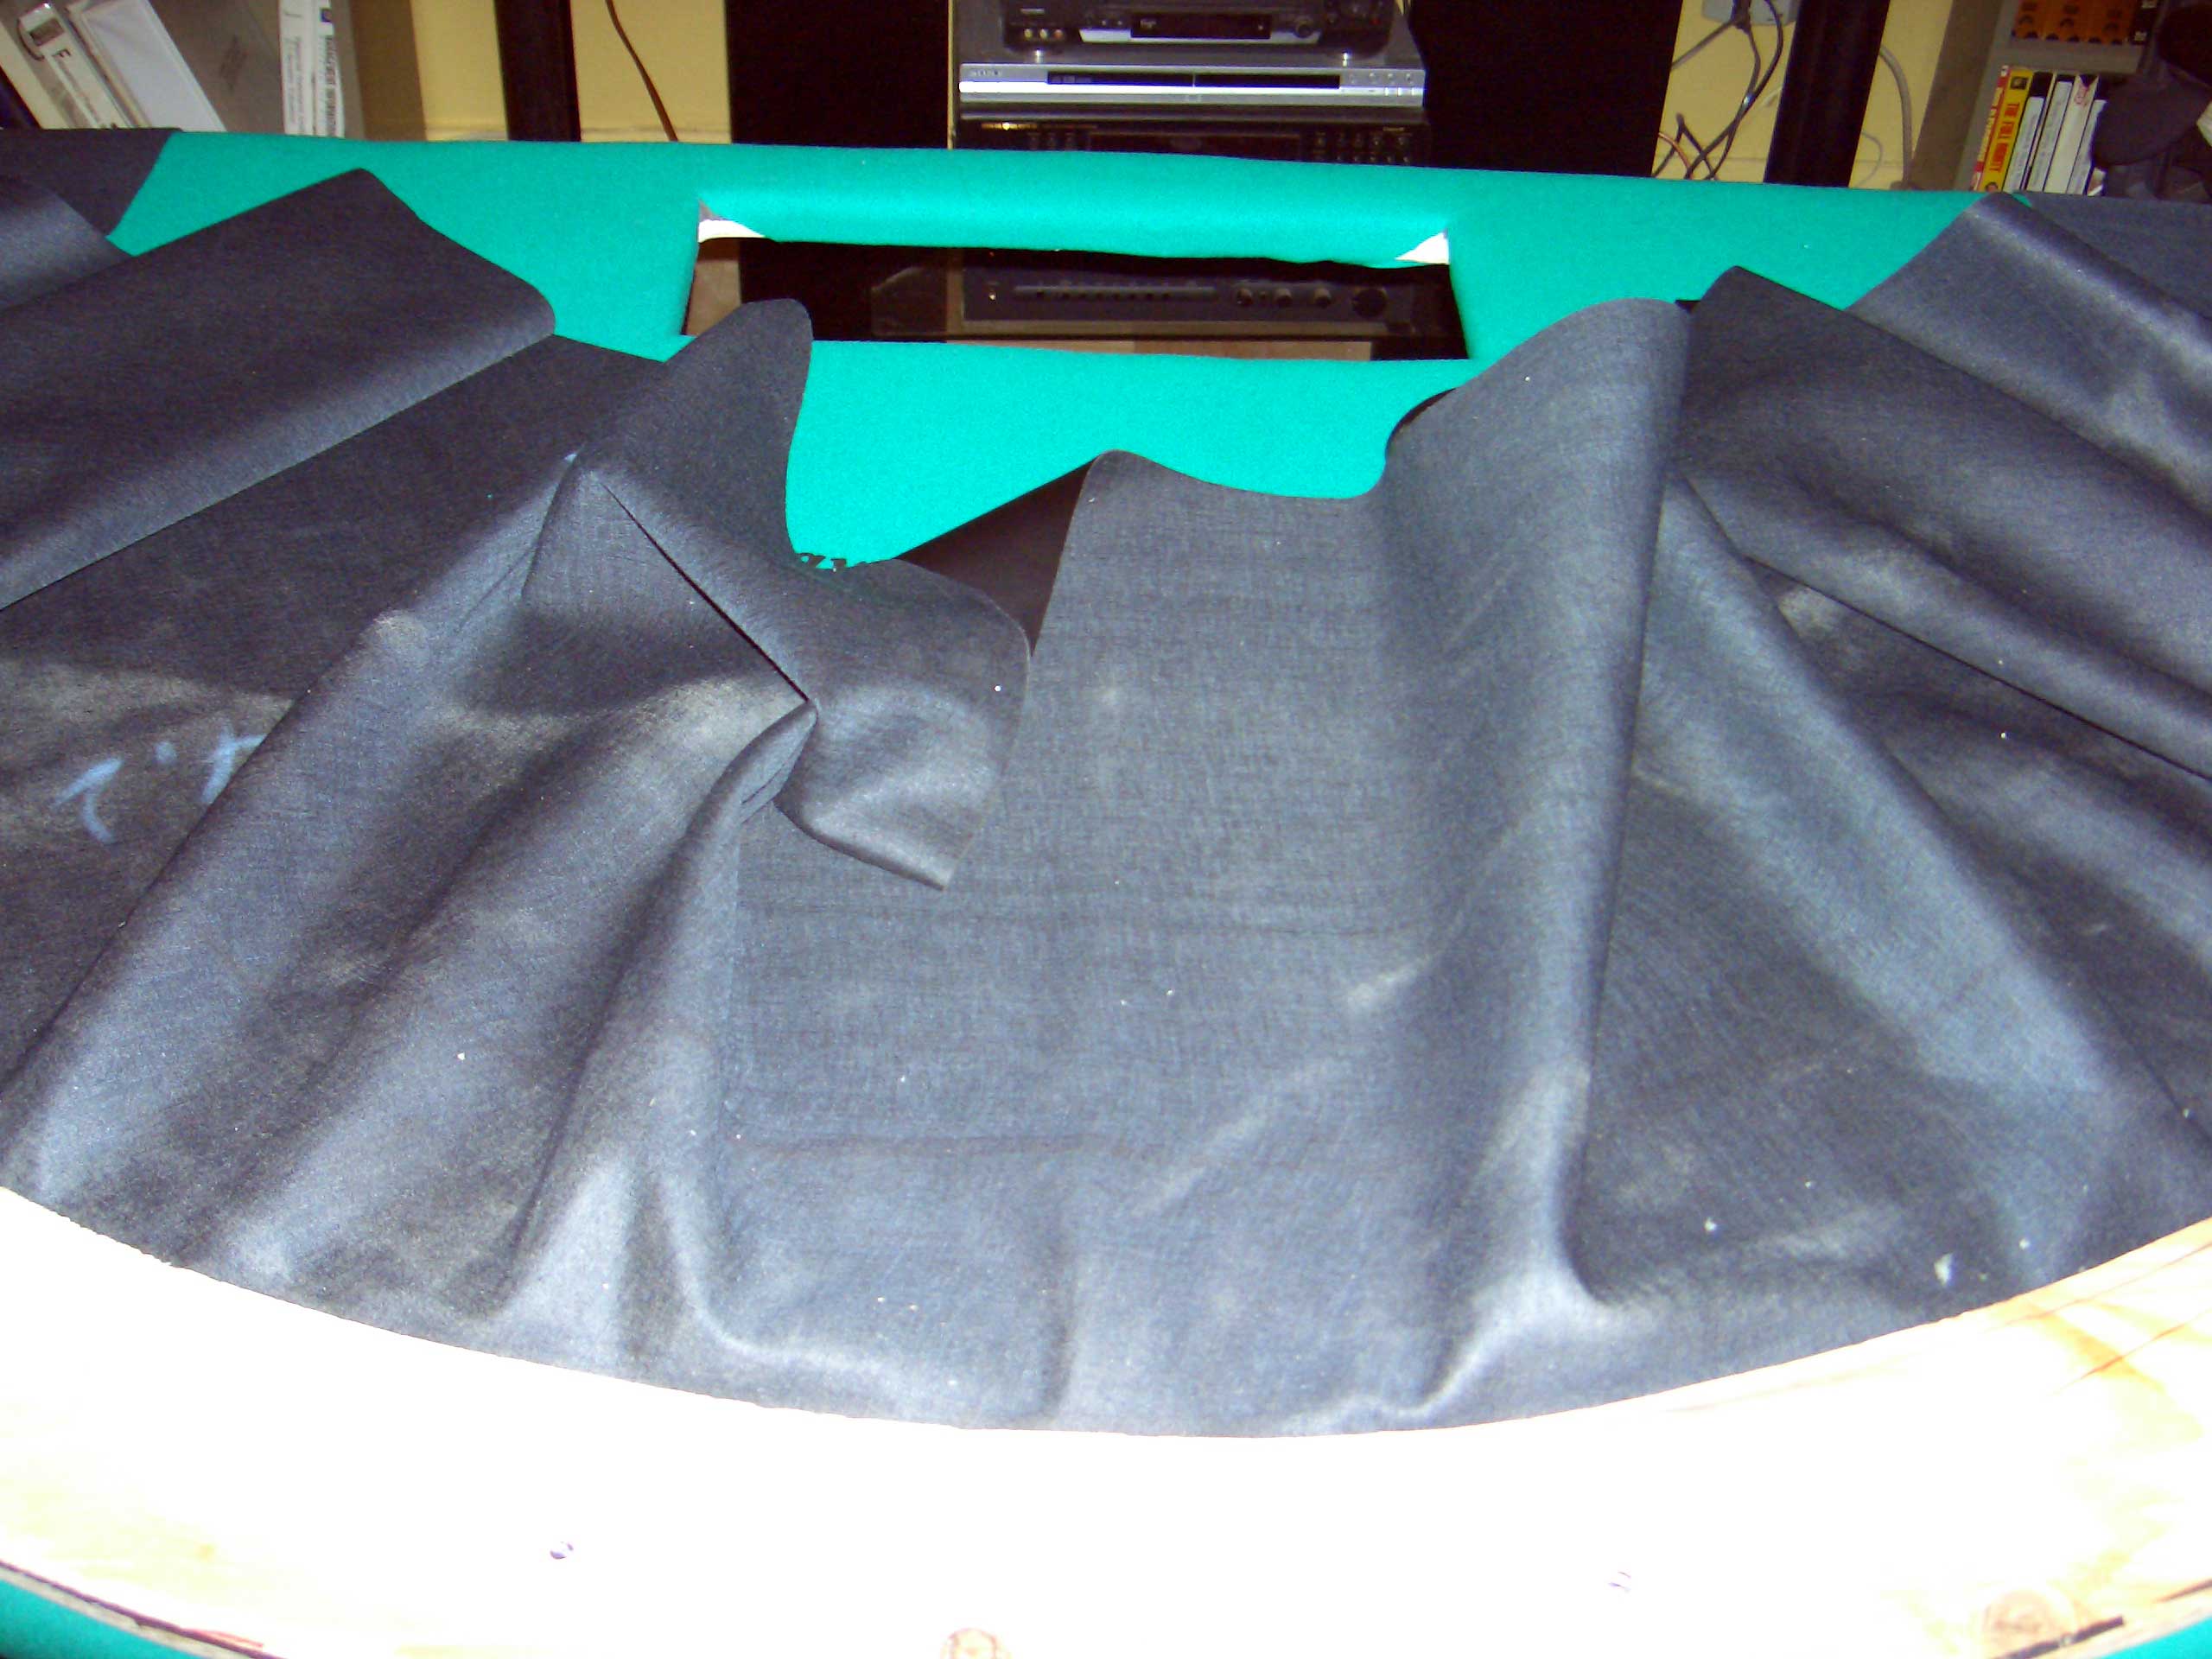
We lined the felt up with the table on sawhorses and put the rail piece on top to make sure we had the felt just right. We upholstered the felt, stretching it tight to avoid any wrinkles. We made a diagonal X cut inside the pocket wood cut and upholstered the felt flaps in the pocket to the underside of the oak table. All we need now is our rail!
We flipped the vinyl over to the back and laid the rail piece upside down on top. We then cut the vinyl around the rail, leaving 6" or so around for upholstery. We cut the vinyl into diagonal strips and stretched it around the inside rail as we upholstered it, pulling it tight. We then flipped the rail over and mounted it to the table base with screws. We had predrilled the holes after upholstering the layout, and placed washers between the rail and the table so drink holders could easily slide under the rail.
We had also traced the rail on the 1" foam sheet, and cut out the rail shape using serious scissors. We glued the foam to the rail and let it dry. We then pulled the vinyl over the rail and cut it into diagonal strips and stapled it to the underside of the table. (This is really frustrating and definitely takes two people.) We cut off the excess vinyl and hammered in some wayward staples. We then flipped the table over, screwed on the pre-painted black baseboard, and screwed on the legs. It's done! Soon we will drill two holes through the table to bolt on our discard holder (so we can remove it for storage).
Thank you PJ Healy and everyone who contributed to our success!
